
Author Archives: Hilltop Nursery

Delightful Daffodils

Spring flowering bulbs are a must for every garden. They provide cheerful early-season color at a time when it is most needed, both in the landscape and by our winter weary souls. Daffodils are some of the most delightful Spring flowering bulbs! What makes them so delightful is their ease of care, diversity in their flower color, size, shape and fragrance, resistance to pests and disease, and their carefree ability to increase and return year after year, with little effort.

Daffodil Selection

Did you know that there are over 32,000 registered cultivars of daffodils? This number gives us some indication of the immense diversity of this flowering bulb with some varieties being easier to find than others. As you become more familiar with, and addicted to delightful daffodils, you will never get tired of adding more of these intriguing bulbs to your collection, possibly seeking out a few hard-to-find ones as well.

Note: All daffodils are narcissus, but not all narcissus are daffodils. For the sake of simplicity, we will refer to all narcissus and daffodils mentioned in this article as daffodils. Their care is the same and separating them will only complicate matters.

Daffodils require a cold period to bloom. Most daffodils will flower best in USDA Hardiness Zone 7 and lower. If you live in USDA Hardiness Zone 8 and higher, there are some daffodils that will do well in your area, or you may purchase pre-chilled bulbs. It will help to work with your local garden center to determine which daffodils do best in your particular area.

All daffodils bloom in the Spring. Within the Spring season, some will bloom early, mid-season, and late. Knowing when a particular daffodil flowers, will allow you to plant varieties for a succession of blooms to extend the whole season. As you begin growing daffodils, it may be easiest to choose some of the most popular and easy-to-find varieties

Early-season Bloomers

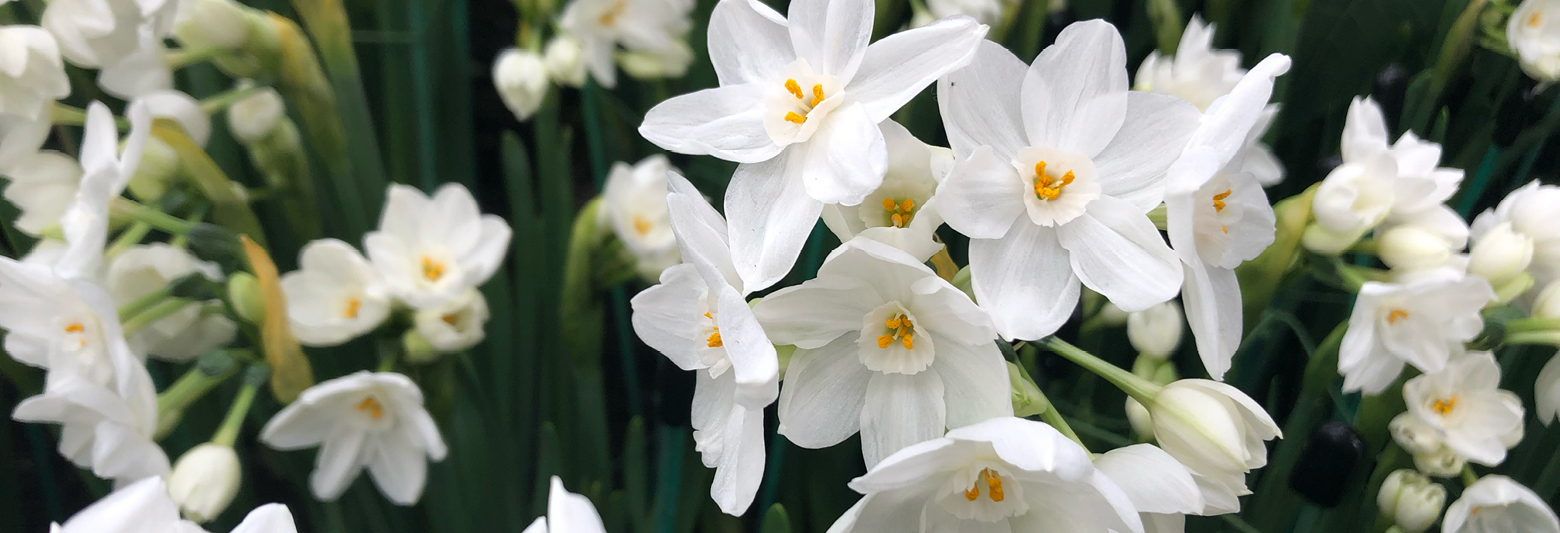
  • Barrette Browning – white petals with small orange cup, 1 to 2 feet tall, lightly fragrant.
  • Rijnveld – golden yellow, 15 inches tall, delightfully fragrant.
  • Tete a Tete – buttercup yellow, multi-flowering, miniature at 6 to 8 inches tall, fragrant.

Mid-season Bloomers

  • Dutch Master – large, golden-yellow daffodil, 1 to 2 feet tall, lightly fragrant.
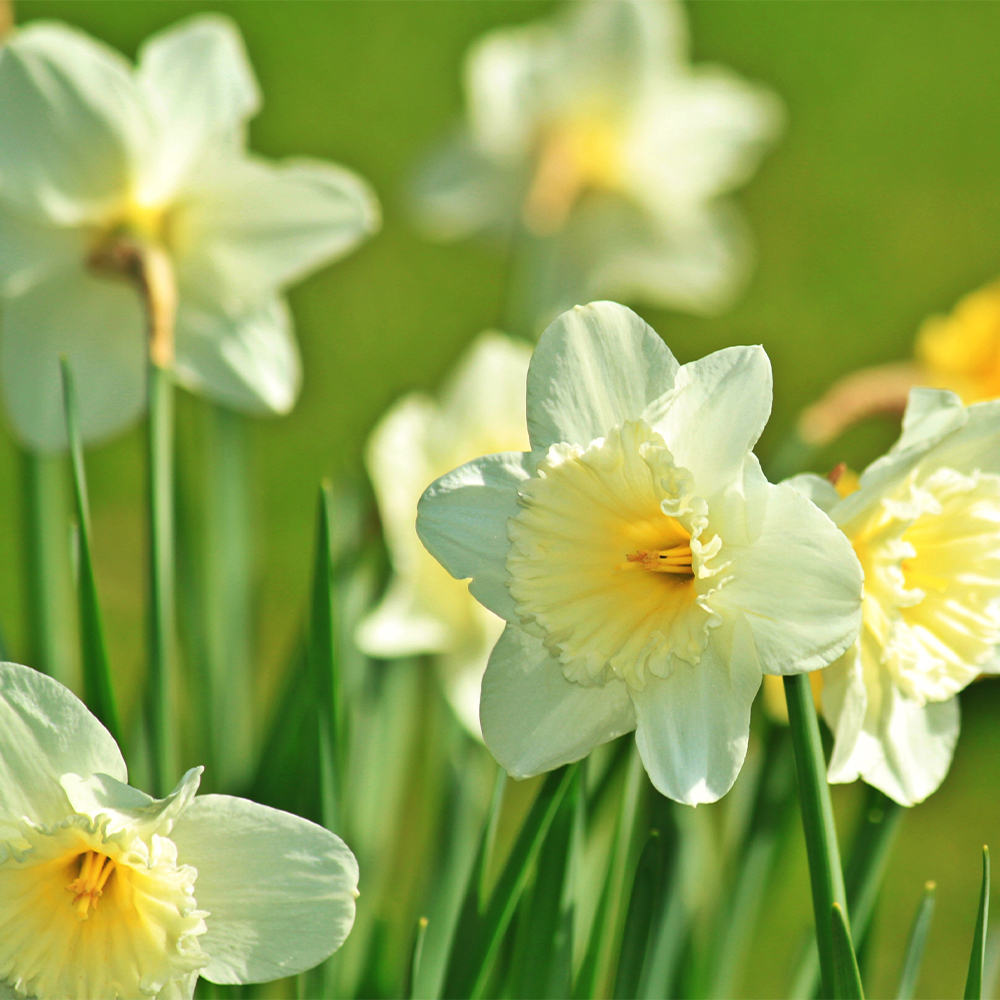
  • Ice Follies – creamy white petals with a pale-yellow cup, 20 inches tall, lightly scented.
  • Pink Charm – ivory petals with a coral-colored cup, 18 inches tall, fragrant.
  • Professor Einstein – snow white petals with a reddish-orange cup, 16 to 18 inches tall, fragrant.

Late-season Bloomers

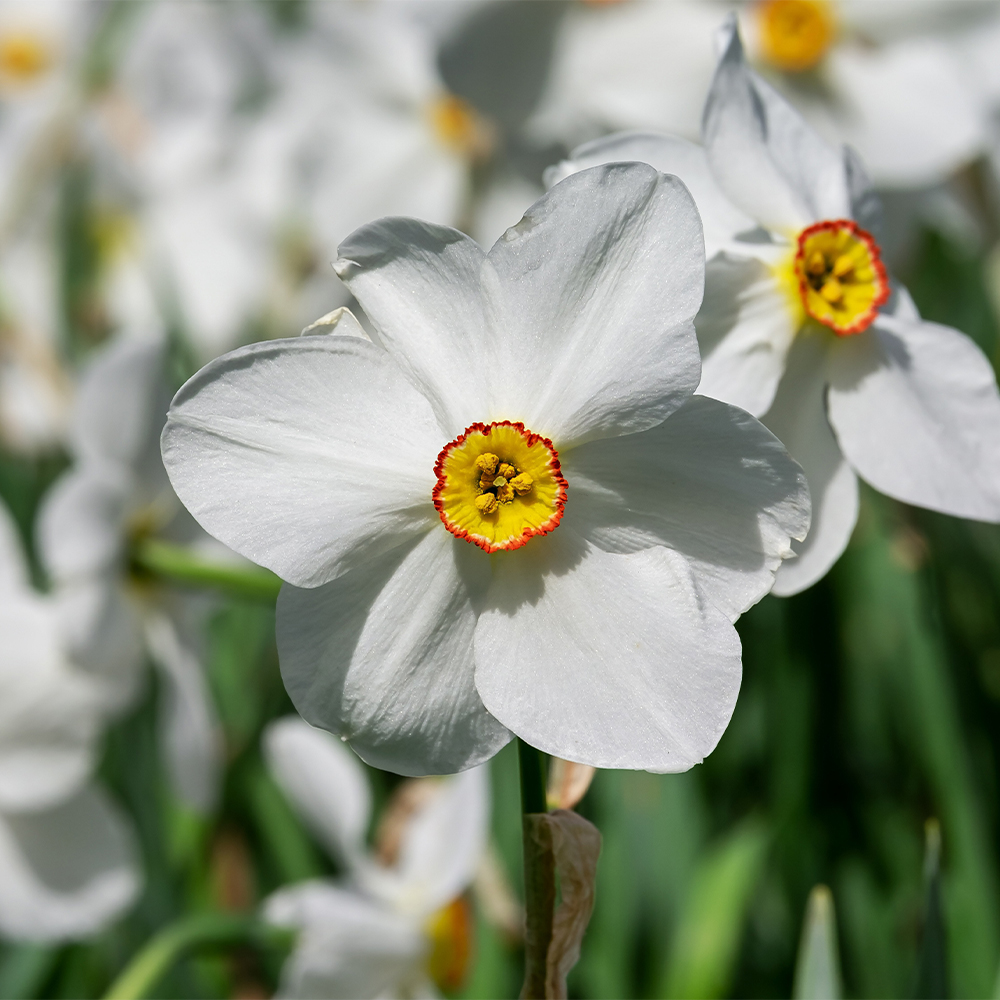
  • Acetaea – pure white petals with a small gold cup rimmed in red, 1 to 1 ½ feet tall, fragrant.
  • Cheerfulness – small flowering, multi-flowering and multi-stemmed, white double flowers with pale yellow flecks, 1 to 2 feet tall, very fragrant.
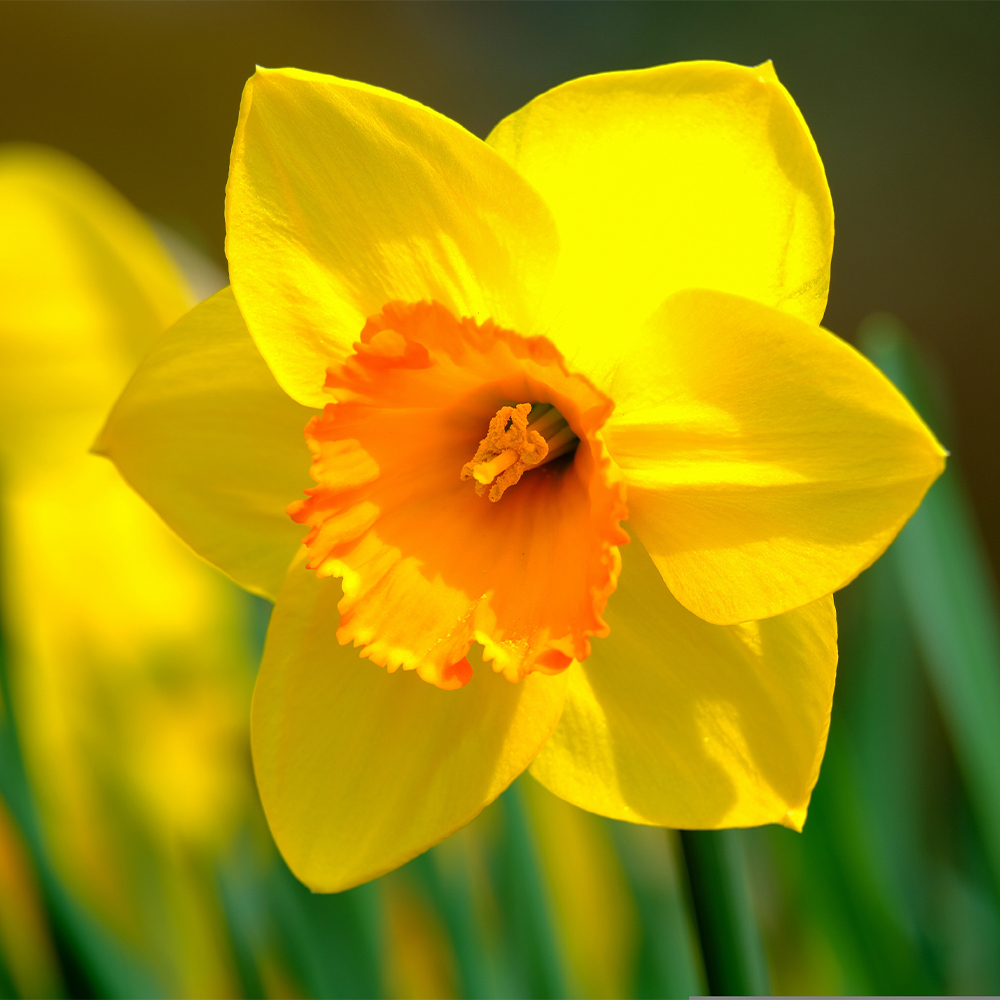
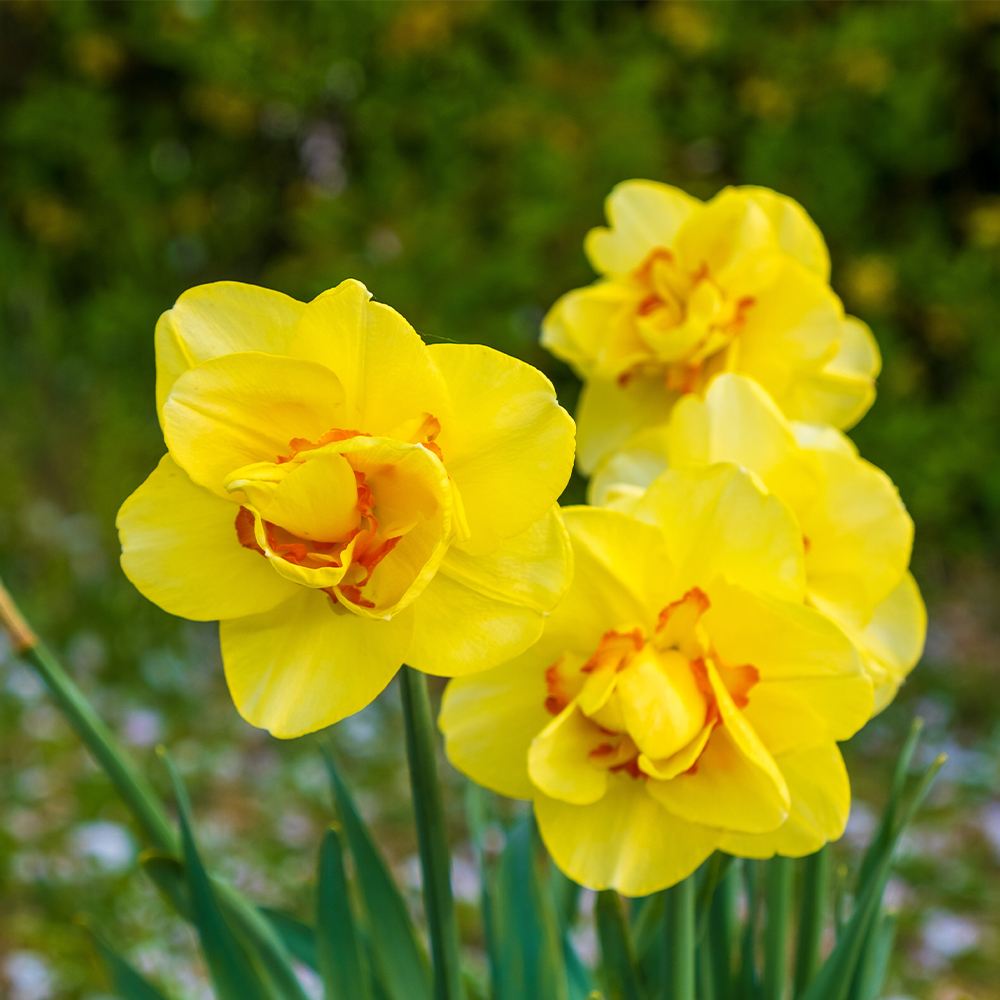
  • Tahiti – large, double flowering daffodil, bright golden-yellow with bright orange ruffled cup, 16 inches tall, fragrant.
  • Thalia – downward facing, pure white flowers with 2 to 3 flowers per stem, 1 foot tall, very fragrant.

Planting Daffodils

Daffodils are purchased and planted in the Fall for Spring blooms and are extremely easy to plant…. easy as dig, drop and done!

  • Plant daffodils in a sunny to part-shady, well-drained site.
  • Daffodils may be planted in single holes, rows, or in groupings.
  • Place daffodil bulbs 6 inches deep, pointy side up.
  • If the native soil is of poor quality or does not drain well, consider amending the soil with a quality compost.
  • Add bone meal to the planting area, to stimulate strong root development, before backfilling the area or holes with soil.
  • No need for deer or rodent protection, these bulbs are pest proof!
  • Water area after planting daffodils and wait for Spring!

With such wide diversity in one group of flowering bulbs, considerable beauty, ample fragrance, significant bloom time, and substantial pest resistance, wouldn’t you agree that daffodils are delightful?
Daffodils

Daffodils

Daffodils

Daffodils

Fall Chrysanthemums

No flower is more iconic of autumn than the chrysanthemum, and these beautiful mounding perennials are ideal for fall flowerbeds, pots, window boxes, borders, and many other uses. How will you get creative with chrysanthemums this fall?
Why We Love Chrysanthemums

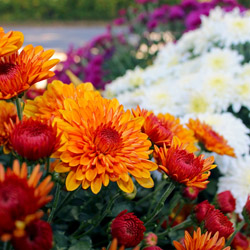
Just when many other flowers are fading at the end of summer, chrysanthemums, or mums, are coming into their glory with a range of stunning autumn colors. Depending on the cultivar, these plants sport yellow, white, red, orange, bronze, pink, peach, wine, purple, and bicolored blooms. The flowers range from small, button-like blossoms to larger blooms reminiscent of daisies. Mum blooms are long-lasting when cut and they’re just as lovely in floral arrangements and bouquets as they are planted in containers, flowerbeds, and the landscape. This makes mums extremely useful for all manner of autumn décor.

Chrysanthemums are native to east Asia and northern Europe and were first domestically cultivated in China nearly 600 years ago. Today, there are more than 20,000 chrysanthemum cultivars worldwide. They are deer- and rabbit-resistant, making them a hardy option for landscaping beds, and with a bit of thoughtful care, these tender perennials can be a wonderful addition to any flower garden or fall containers.

Caring for Chrysanthemums

The hardiness of chrysanthemums depends on the cultivar as well as the local climate and even the microclimate in your landscape. These flowers prefer well-drained, rich soil with a neutral pH, so it is best to use a good quality potting soil in containers. When planting chrysanthemums in the garden or landscape, mixing compost or peat moss in the planting hole will help increase drainage and nourish the soil to promote the best blooms. A good rule of thumb is that if soil is good for vegetables, it will also be good for mums – making them a wonderful choice to refresh a garden after the summer harvest has finished.

Chrysanthemums grow best in full sun requiring a minimum of six hours per day. If mums are planted in containers, consider using a mobile plant cart or a stand with casters so  that the pots may be moved to brighter areas, if needed, as the season progresses.

Chrysanthemums prefer evenly moist, but not soggy, soil. Because of their thick, mounding habit, it is best to water mums from below suing a soaker hose or irrigation drip system in garden beds. In pots, mums should again be watered from below the plant but above the soil line. A watering wand will make this job direct and easy. Be sure to drain excess water from saucers after watering so the roots do not remain continually wet.

Fertilizing chrysanthemums every month through the spring and early summer, with a balanced fertilizer, will help them grow and bloom well, but if mums are planted in the Fall, they should not need extra feeding as long as they were planted in rich, nutritious soil. Deadheading spent blooms by pinching them back can encourage more flowering and help mums maintain their compact, mounding habit.

Decorating with Fall Mums

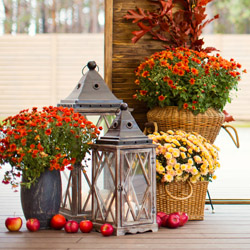
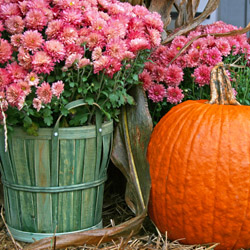
Chrysanthemums are a beautiful choice not only in the garden, but are equally lovely in welcoming porch pots, deck or patio containers, or even small indoor pots and arrangements. Add an extra touch of fall with rustic containers, such as wine barrels, baskets, or terra cotta pots, or glam up your mums in hammered copper or bronze pots that will accentuate their color. A burlap ribbon or bow can be a charming accent, and you can give more seasonal flair to mum arrangements or flowerbeds by adding pumpkins and gourds as fun decorations. Indoors, use small pails or pots for petit mum arrangements, or add them to larger arrangements with grain sprigs, dried pods, colorful leaves, or twists of grapevine for additional texture.

Fall chrysanthemums can be a pleasant burst of autumn color, whether they are part of the landscape or are used in containers, pots, or arrangements and we carry a wide selection to make your fall home suit the season!

Growing Garlic

Richly flavorful and packed with health benefits, garlic is a great ingredient for all your favorite savory dishes. Growing garlic is very easy and helps you keep a ready supply of this root vegetable (often also referred to as an herb or spice) on hand for quick access and instant flavoring.

Health Benefits of Garlic

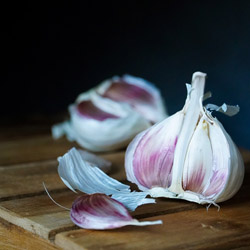
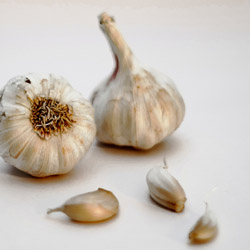
Garlic, which is related to onions, shallots, and leeks, has many documented health benefits, making it a worthwhile addition to your diet. This bulb vegetable is segmented into cloves, and may yield 10-20 cloves per bulb. Just a clove or two added to different dishes can…

  • Boost immune function, minimizing colds and other minor ailments
  • Reduce blood pressure to improve cardiovascular health
  • Lower bad cholesterol levels and the risk of heart attack or stroke
  • Reduce bone loss risk, particularly in older women
  • Lower inflammation to improve arthritis and joint function

The health benefits of garlic are so well known that the plant has featured prominently in the medical treatments of different cultures for centuries, including the ancient Babylonians, Egyptians, Greeks, Romans, and Chinese. Today, many doctors continue to promote garlic as part of a healthy diet.

Tips for Growing Garlic

Fresh garlic has the most health benefits and is the most flavorful. It’s easy to grow garlic either in the garden – it is resistant to both deer and rabbits, making it ideal for borders to protect other produce – or in kitchen pots for easy access for all your cooking. To make the most of growing garlic…

  • Choose organic or locally grown garlic to grow. These cloves won’t have chemical treatments that could inhibit growth, and you will be able to monitor exactly what care your garlic receives.
  • Opt for hardneck garlic in northern climates because it is hardier, whereas softneck garlic can easily be grown in mild climates. If you will grow garlic indoors, either variety is suitable.
  • Choose large, firm cloves without any signs of damage, softening, or bruising for the best growth and largest crop to harvest.
  • Provide a cooling period of 6-8 weeks in the refrigerator for hardneck garlic, which requires a dormant period for optimal sprouting. Softneck garlic does not need as much cooling.
  • Use a pot at least eight inches deep so cloves have plenty of room to develop, and the pot should have abundant drainage holes to prevent root rot.
  • Space cloves at least 3-4 inches apart, or plant just one clove in each pot so the bulbs have adequate room for full development.
  • Use organically rich potting soil, or amend garden soil with compost to nourish young garlic. The soil should be loose and well-draining so garlic bulbs aren’t cramped.
  • Leave the papery skin on cloves for planting, and position cloves pointy-side up, 3 inches down into the soil. Cover the soil with a light layer of mulch or straw for protection.
  • Position garlic where it will receive 6-8 hours of sunlight per day. Indoors, a south- or west-facing window is ideal, or use a supplement grow light to help garlic grow best.
  • Feed garlic carefully, using natural fertilizer, compost, or a high-phosphorus blend specially formulated for larger, healthy bulbs.
  • Water garlic well. The soil should be uniformly moist but not overly soggy, or the bulbs will rot and be unable to flourish.
  • If temperatures drop, protect garlic pots by wrapping them in insulating bubble wrap, carpet, or straw bales. For garden garlic, a layer of mulch will help keep soil temperatures even.

Harvesting Your Garlic

Garlic is slow-growing and will take 7-9 months before fresh bulbs can be harvested. When approximately 50-70 percent of the green tops of garlic plants begin to turn yellow or brown, the bulb is mature and ready to harvest. Use a hand rank or garden fork to carefully loosen soil around the garlic, gently lifting the bulb. Avoid bruising, scratching, or breaking the bulb, which would cause it to rot.

Gently wipe off excess dirt from the bulb, but leave the paper covering intact. Trim off the roots and stalks, and place the fresh bulbs loosely in paper bags in a cool, dry spot for 1-2 weeks. Air circulation should be good to cure the bulbs evenly, and garlic should be stored in a cool, dry place until it is ready to use, or until the best resulting cloves have been dormant long enough to plant and start the cycle over again for even more fresh garlic to enjoy.

Creating a Low-Maintenance Landscape

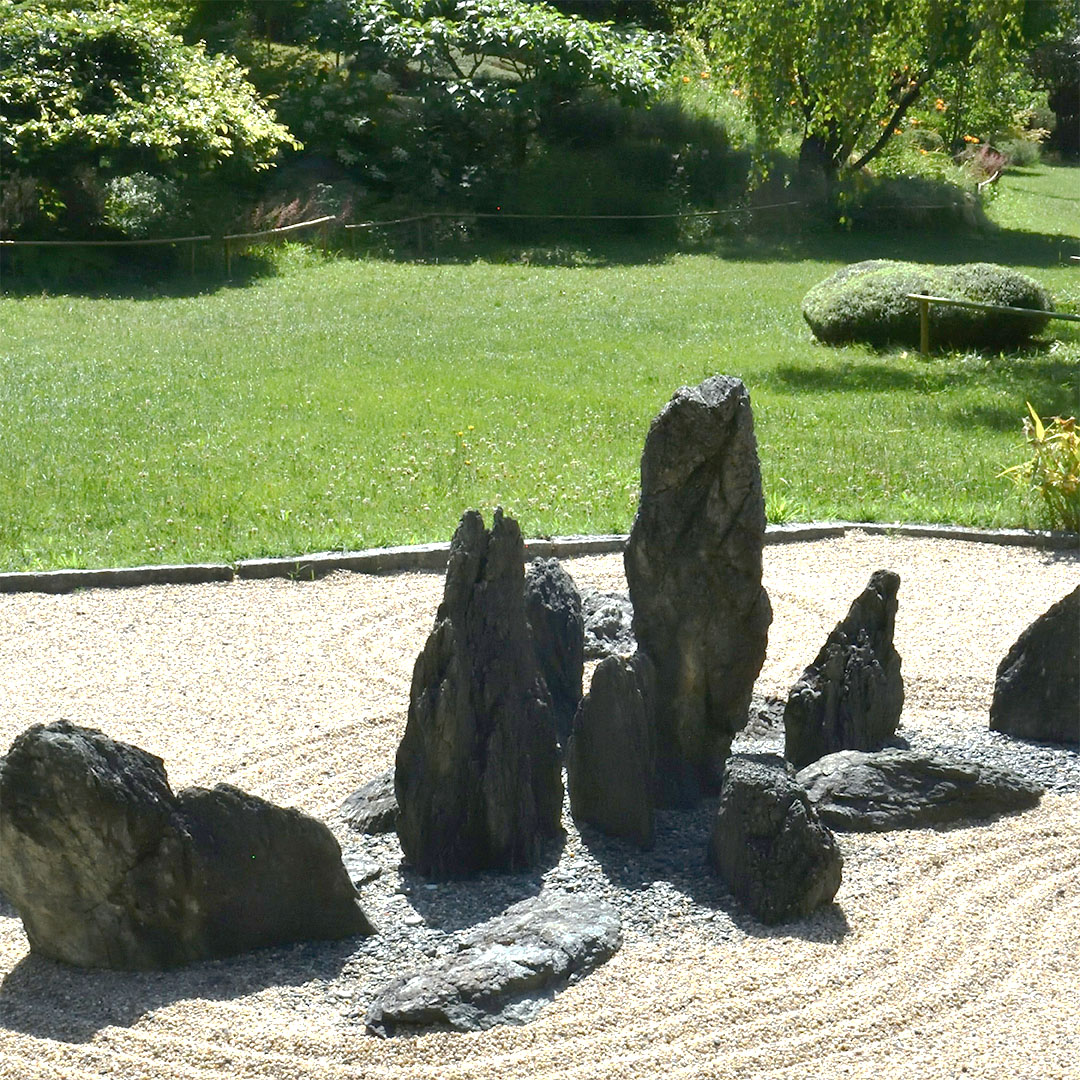
Looking for a landscape design that delivers curb appeal without demanding your weekends? It might be time to discover the benefits of decorative stone! Stone, rock, and gravel offer practical, polished solutions that minimize upkeep, maximize style, and provide significant long-term savings. If you’re eager to take yard maintenance off your to-do list without sacrificing an attractive outdoor space, you’re in the right place! Hilltop Nursery is here to guide you through everything you need to know about creating a stunning, low-maintenance landscape with rock.
Why Choose Rock?

Decorative rock landscapes go far beyond simple aesthetics. When you invest in a rock-based design, you’re choosing function, longevity, and a welcome break from repetitive yard work. Here are some core reasons why more property owners are switching to rock:

Long-Lasting Impact

Unlike wood mulch, which decomposes and demands frequent replenishing, decorative stone persists for five years, a decade, or even longer. Rock holds its color, resists breakdown, and keeps your yard looking consistent year after year. This translates into more time and money saved on outdoor upkeep.

Excellent Weed Suppression

When properly installed over quality landscape fabric, decorative rock forms a powerful physical barrier that blocks most weeds from emerging. This simple step reduces your need for herbicides and slashes your time spent on hands-and-knees weeding.

Minimal Watering

While organic mulch can help retain moisture, it often requires maintenance and doesn’t reduce the need for watering as much as you might think. Rock needs no watering at all. When paired with drought-tolerant plants, such as succulents, or xeriscaping, a rock landscape becomes a water-efficient solution offering both immediate and long-term environmental benefits.

No Decomposition or Pest Risk

Mulch is organic, which means it breaks down over time and can invite termites, ants, and pests. Rock, on the other hand, never decomposes, attracts fewer pests, and stays put even during heavy storms or wind. This results in a cleaner, more predictable landscape.

Fire Resistant & Durable

Decorative stone adds a layer of fire resistance to your property, which is especially critical in wildfire-prone regions. Rocks don’t burn, and they serve as a natural buffer near outbuildings, fences, or homes.

Where to Use Rock?

At Hilltop Nursery, we often hear customers ask, “Where exactly should I use decorative rock?” The answer is almost anywhere! Rock is one of the most versatile materials in landscaping, offering beauty and durability in every corner of your outdoor space.

Long-Term Garden Beds

Start by replacing mulch in your permanent garden beds. Decorative stone stays in place longer, resists fading, and won’t break down like wood chips, making it a significant upgrade around shrubs, trees, and perennials.

Patios, Paths, & Seating Areas

Rock is also ideal around patios, along walkways, and under outdoor seating or play areas where grass struggles to grow. It provides a smart, low-maintenance solution that maintains high curb appeal. It also performs beautifully in high-traffic zones, such as front entrances, signage beds, or along driveways, especially where you want a tidy, professional look without constant upkeep.

Types of Landscape Rock

With such variety in shape, color, and texture, landscape rock is more than just functional—it’s a stunning design element. Some popular options include:

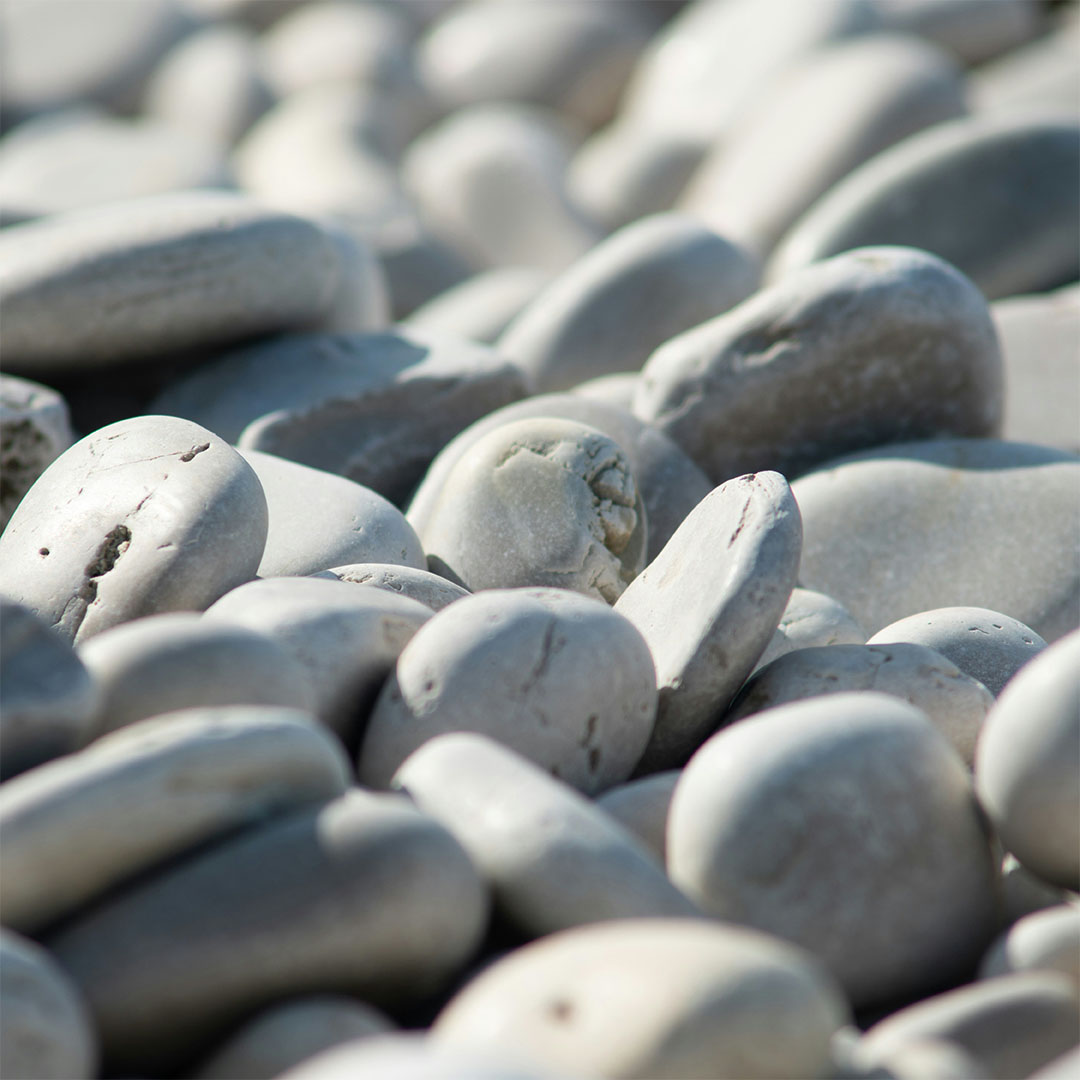
  • River Rock: Smooth, rounded stones available in multiple colors and sizes. Perfect for naturalistic designs, dry creek beds, and defining garden borders.
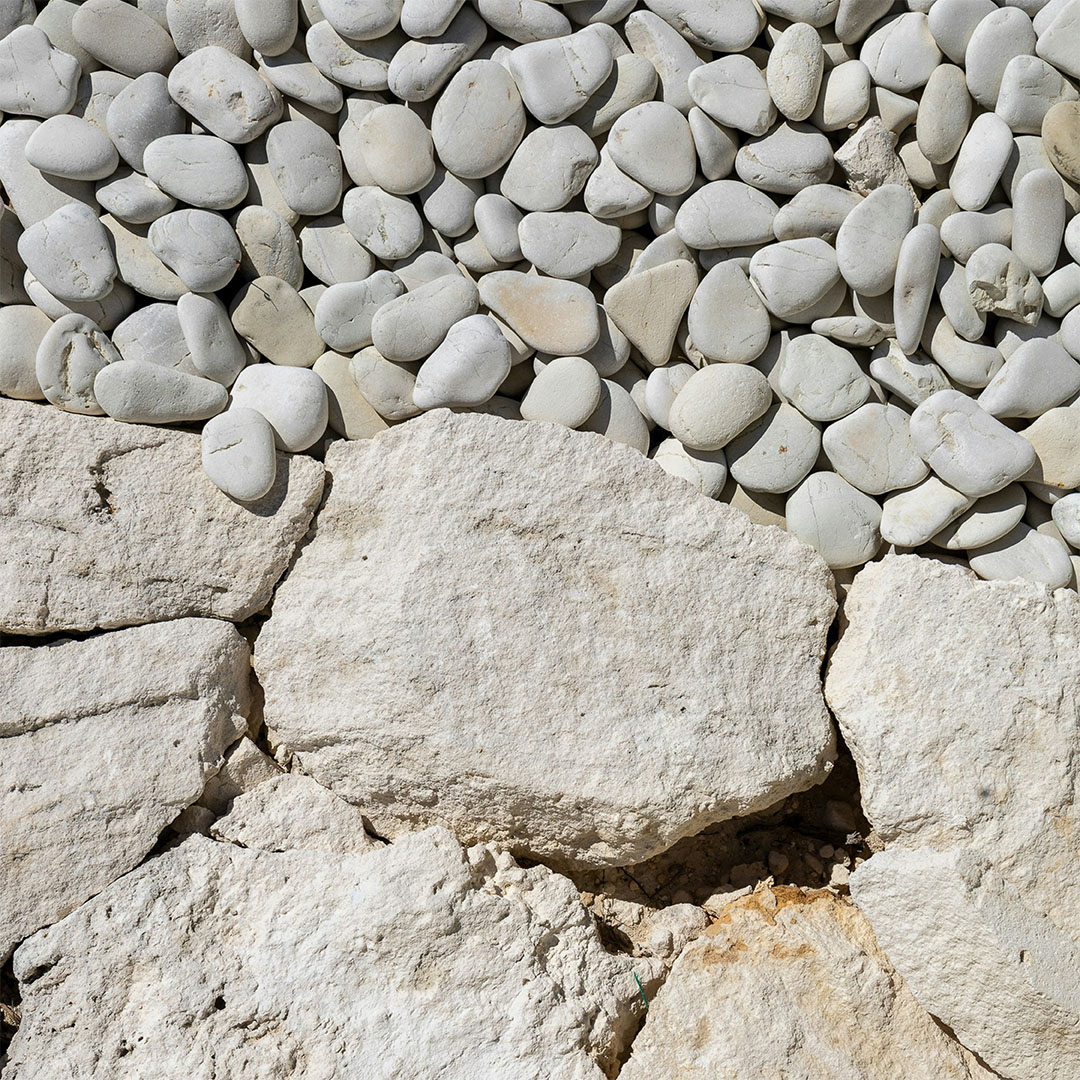
  • Crushed Limestone: Clean and tightly compacting, making it ideal for driveways, walkways, and fire pit zones.
  • Pea Gravel: Small pebbles that provide comfort underfoot. Excellent for patios, playgrounds, or paths.
  • Slate Chips: Angular and modern, often used for high-contrast, contemporary beds and commercial plantings.
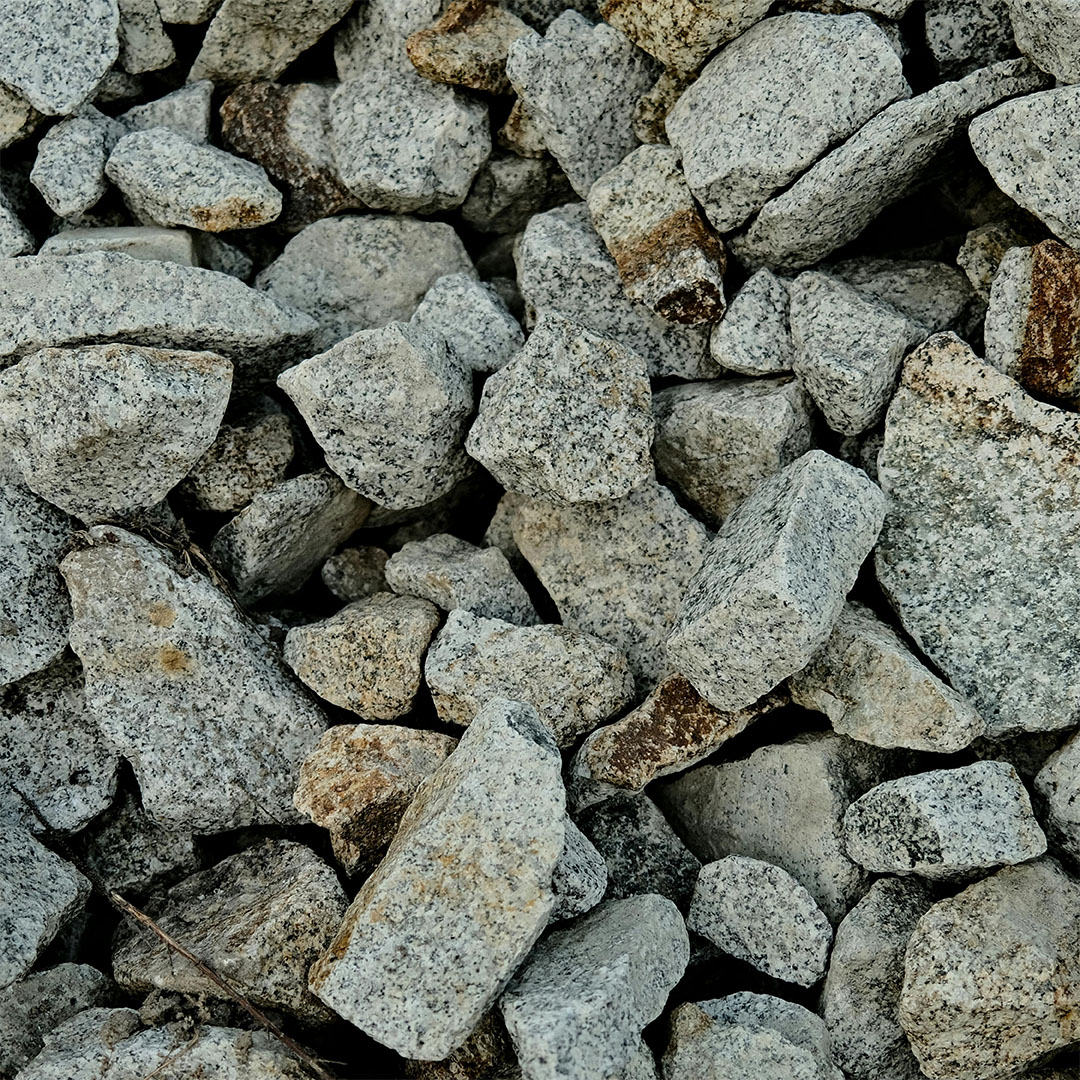
  • Decomposed Granite: A firm, drainage-friendly surface that packs tightly for paths, patios, or even outdoor seating areas.
  • Lava Rock: Lightweight, porous, and bold in color. Offers excellent drainage and a distinctive aesthetic for specific applications.

Selecting the right rock can enhance both function and visual appeal, so consider the colors and textures that harmonize with your home’s exterior or business brand.

Maintenance Tips

A landscape built with stone offers impressive reductions in maintenance, but a little effort goes a long way toward keeping it pristine. Consider these proven tips:

  • Install High Quality Landscape Fabric: Always start with a professional-grade fabric beneath the stone. This keeps weeds at bay, allows rainwater through, and prevents rocks from mixing with the soil below.
  • Refresh the Surface Layer Occasionally: Over time, tracks and settling may cause heavily trafficked areas to thin out. Adding a fresh top layer every few years will restore uniformity and color vibrancy.
  • Use Proper Edging for Containment: Edge beds with steel, concrete, or stone borders to prevent rock migration into lawns or other planting areas.
  • Keep Debris Under Control: Use a blower or light rake to clear leaves and organic matter in fall and spring.
  • Apply Pre-Emergent Herbicide: For added security against weeds, treat beds with pre-emergent product once or twice a year, or as needed.
  • Rinse Rocks: If dust or mud builds up, rinse with a garden hose or use a pressure washer on the lowest setting to restore their natural look as needed.

How to Select the Right Materials

How does decorative stone compare with organic mulch or a turf-heavy yard? Here’s a breakdown:

Material Maintenance Level Best Applications Longevity
Rock Very Low Permanent Beds 5 – 10+ years
Mulch Moderate Flower Beds
Annual Gardens
1 – 2 years
Turf High Play Areas
Lawns
Dog Runs
Ongoing

If your goals include lasting impact, hassle-free ownership, or improved property value, rock is typically the standout choice.

Stunning Results with Minimal Effort

A well-designed rock landscape offers lasting beauty with minimal work. The right mix of stones can add dynamic texture, highlight architectural features, and give your property a cohesive, professional appearance. By making smart choices up front, you can achieve eye-catching curb appeal and enjoy true low-maintenance living for years to come.

Hilltop Nursery provides an extensive range of landscape stone, from classic river rock to dramatic granite chips. Our staff is ready to help you calculate quantities, select complementary rock types, and even assist you with installation. Whether you’re revamping a single bed or tackling a multi-acre project, we’re here to help every step of the way.

Butterfly Bush

What could be more enjoyable than relaxing in your favorite lawn chair or hammock, your sunglasses on and a cool beverage in hand, staring at an enchanting array of colorful butterflies milling around their favorite plant? What could possibly be an easier way to accomplish this vision than by planting a simple butterfly bush?

About Butterfly Bush

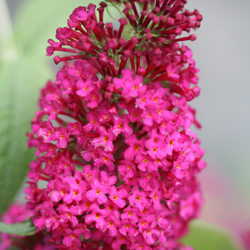
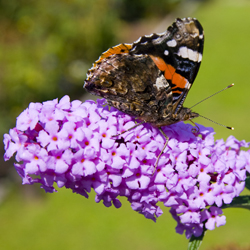
Buddleia davidii, the butterfly bush, is a flowering maniac. It pushes its proliferation of perfumed blooms straight through summer and well into fall, providing nourishment to butterflies all season long. Available in a multitude of colors ranging from white to pink to red to purple, there are colorful butterfly bushes to match any garden or landscape color scheme. The fragrant, long, spiked panicles are borne in profusion on long, gracefully arching branches that add drama and elegance to the yard. And it really is a butterfly magnet!

Growing Butterfly Bush

This quick growing, deciduous, woody shrub is winter hardy in zones 5-10. In the northernmost areas of its hardiness range, Buddleia behaves like a herbaceous perennial, dying back to the ground in very cold winters. In the southernmost areas, Buddleia is grown as large shrub and can flourish all year. In either location, however, you should treat this plant as a cut back shrub. Because butterfly bush blooms on new wood, it benefits the plant to be cut back to the ground each spring. This judicious pruning will stimulate lavish new growth and an abundance of flowers. It will also keep some of the larger varieties at a manageable size, particularly in smaller yards, corners or other confined spaces.

Plant your butterfly bush in full sun in just about any type of soil and it will thrive. Don’t worry about fertilizing as over-fertilization can encourage too much leaf growth over flower formation. Deadheading will encourage additional growth and new flower buds to extend the blooming season. Buddleia has a good tolerance for drought once established, but should be carefully watered when young. A good, thick layer of mulch will help maintain soil moisture and keep weeds down to keep the shrub healthy. Just be sure not to use insecticides or pesticides on your butterfly bush or you may be harming the very fluttering fliers you hope to attract.

Not sure which butterfly bush to try? Consider these varieties to choose the perfect color and style to suit your yard.

Recommended Buddleia Varieties by Color

White Butterfly Bushes

  • ‘Nanho Alba’: 6-8’ height, blue-green leaves, mildly fragrant
  • ‘Silver Frost’: 5-6’ height, silver-gray leaves
  • ‘White Ball’: 3-4’ height, silver foliage, compact habit
  • ‘White Bouquet’: 8-10’ height, gray-green leaves, flowers have orange throat
  • ‘White Cloud’: 8-10’ height, gray-green leaves, flowers have yellow eye
  • ‘White Harlequin’: 8-10’ height, variegated leaves

Pink Butterfly Bushes

  • ‘Charming’: 6-10’ height, blue-green leaves, flowers have orange throat
  • ‘Fascination’: 8-12’ height, lilac-pink flowers with cupped petals
  • ‘Pink Delight’: 4-7’ height, gray-green leaves, true pink flowers, fragrant
  • ‘Summer Beauty’: 5-6’ height, silvery leaves, pink-rose flowers
  • ‘Summer Roae’: 8-10’ height, mauve-rose flowers, strong fragrance

Red Butterfly Bushes

  • ‘Burgundy’: 8-10’ height, magenta-red flowers, fragrant
  • ‘Dartmoor’: 8-10’ height, magenta flowers
  • ‘Harlequin’: 6-8’ height, variegated leaves, reddish-purple flowers
  • ‘Royal Red’: 10-12’ height, purple-red flowers, fragrant

Purple / Blue Butterfly Bushes

  • ‘Black Knight’: 8-10’ height, deep violet-dark purple flowers
  • ‘Bonnie’: 8-10’ height, light lavender flowers with orange eye, sweet fragrance
  • ‘Ellen’s Blue’: 5-6’ height, silver leaves, deep blue flowers, orange eye, fragrant
  • ‘Moon Shadow’: 3-4’ height, lilac purple buds open to lavender flowers
  • ‘Nanho Blue’: 6-8’ height, gray-green leaves, mauve-blue flowers, fragrant
  • ‘Orchid Beauty’: 6-8’ height, lavender-blue flowers, fragrant
  • ‘Potter’s Purple’: 6-10’ height, deep purple flowers, mild fragrance

Protecting Trees From Drought Stress

Summer can be the most stressful time of year for landscape plants with heat and drought being the main offenders. When not receiving sufficient moisture, plants are much more susceptible to insect and disease damage. Trees are the most valuable landscape plants and can be the most difficult to replace, so it is sensible that they should be given priority during periods of drought.

Identify Drought Trouble

Lack of water is not a clear indication of a drought when it comes to trees. Many trees have deep, active roots that can easily survive short periods without rain or moisture, but it is important to notice when they are starting to become drought-stressed. Wilting and curling leaves will appear on drought-stressed deciduous trees. Leaf edges will eventually turn brown and crispy and may drop prematurely. Evergreen needles will begin to turn brown at the tips. As the drought continues, the entire needle will turn brown.

Prioritize Which Trees to Help

Generally, the trees most at risk are those that are newly planted or transplanted, as well as any younger trees. The root system of these plants is underdeveloped or has been damaged by the planting. Trees that are growing in a restricted area should also be of greater concern. This includes trees planted in containers, the narrow grass strip between the street and sidewalk and trees grown adjacent to your house or driveway where they suffer more from reflected heat and have less underground space to spread their roots to collect sufficient moisture. Drought-sensitive plants like birches, beeches, dogwoods, Japanese maples and magnolias should also be given priority during drought conditions.

Watering During a Drought

It is best to begin good watering practices before the tree succumbs to drought stress. Trees need approximately one inch of water per week. If Mother Nature is not supplying it then you should.

It is best for the tree if the required water is applied all at one time to the soil, slowly and deeply. This can be accomplished by using irrigation bags on newly planted or small trees. Trees in a restricted area are best watered with a slow dripping hose placed at the base of the tree and moved frequently for even distribution. For larger trees, a soaker hose laid in a spiral pattern, radiating from the tree trunk out to the drip line, works well.

Take care that if your community has watering restrictions during drought conditions, you follow approved practices to maintain your trees without risking fines or fees from illegal watering.

Tips for Helping Drought-Stressed Trees

  • Always water the soil and not the leaves or needles of the tree.
  • 2-4 inches of mulch placed over the soil, under the tree, from the trunk to just beyond the drip line, will help conserve soil moisture. Do not mound mulch against the tree trunk, which can encourage insects.
  • Water on overcast days, early in the morning or in the evening. Evaporation is slower during these times and more water will soak down to the roots.
  • Fertilizer can injure tree roots during times of limited soil moisture. Avoid using fertilizer during drought conditions. If amendments are necessary, choose compost or other gentle options instead of harsher fertilizers.

You can help your trees resist drought conditions with a little thoughtful care, and they will continue to thrive to help provide shade and beauty in your landscape.

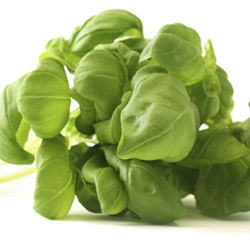
Basil: King of the Herbs

It’s edible, a member of the mint family and ornamental. Grown for over 5,000 years, it flavors foods around the world and is well-known in many household kitchens… Have you guessed yet?

Of course, it’s BASIL!

A flavorful ingredient of foods from Italy to India and Thailand and America, basil adds flavor and flair to any recipe. Add fresh or dried basil just before serving for the most intense flavor. However, the kitchen isn’t the only place it reigns as king… Give it a throne in your garden, too!

Growing Basil

Like other mints, basil is easy to grow. Choose young, bushy, compact plants that show no signs of diseases or pests. Plant in full or partial sun, in well-draining soil and provide adequate moisture. As an annual, it’s also easy to grow from seed, just follow the package instructions.

The most difficult decision about basil is deciding which basil you want to grow and eat. The basil family, Basilicum, has a natural variety of colors, growth shapes and fragrances. Plant breeders complicated the decision by creating over 30 hybrids commonly used today.

For ornamental gardening use, four “shapes” are commonly available. All are deliciously edible.

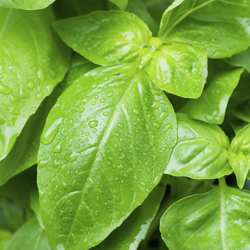
  • Sweet Green Basil: 2′ tall, with large leaves and white flower spikes. The clove/anise taste is typical of many types of basil. Others in this group include lettuce-leaf, Genovese, Thai (spicy) and the intensely fragrant and flavored Siam queen.
  • Dwarf Basil: Up to 12″ tall, small leaves, white flowers. This group includes well known Spicy Globe and Boxwood basil (perfect edging plants due to rounded growth) and Green Bouquet.
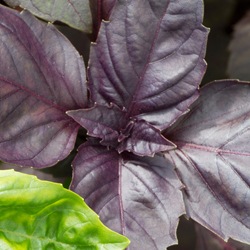
  • Purple-Leafed Basil: Favorite varieties include Dark Opal, Purple Ruffle and Red Rubin, all with “fancy” leaves, very aromatic, with pink to lavender-purple flowers.
  • Scented-Leaf Basils: This group includes varieties of stronger aromas. Lemon basil (gray green leaves, white flowers) is aptly named as are cinnamon basil (dark pink flowers), and anise basil (blue purple flowers).

Basil, especially the purple-leafed, is wonderful in containers. Design as you would with any ornamental. Don’t overlook the value of placing a container near the BBQ and kitchen for easy use while cooking. It’s said that planting basil, especially aromatic varieties, around the patio or deck will deter flies… It certainly can’t hurt!

Enjoying Basil

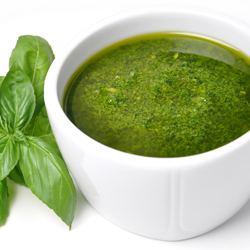
Used throughout the world with different regional foods, basil truly reigns in many different cultures and cuisines. Although pesto is probably one of the best-known uses here in the United States, basil is great in soups, sauces, pastas or in salads, vegetables and martinis. Remember to harvest before flowering for the best flavor. This also keeps the plant bushy and compact. Simply cut the entire stem just above a pair of leaves to promote new shoots. If you plan to use some leaves as garnish, cut with scissors to reduce bruising. Store unused basil in the refrigerator to retain its flavor and freshness.

Extra basil can easily be dried for future use. Cut the plant at ground level, hang upside down in an airy room and let dry. After it’s fully dry, remove the leaves from stems and store in airtight jars away from direct light.

Benefits of Basil

Did you know using basil is also very good for you? For many reasons basil is called the “holy herb” in other cultures. Research now shows it has strong anti-oxidant, anti-inflammatory and anti-bacterial qualities. Additionally, it is rich in essential nutrients, minerals and vitamins including beta-carotene, vitamins A and K and iron. Need we say more? Add basil to your healthy, delicious diet today!

Sedum: A Sunny Ground Cover Solution

Is your landscape afflicted with poor, low-quality soil? Areas of scorching sun? A problematic bank or steep drop? Sedums can be the answer!

Why You Will Love Sedums

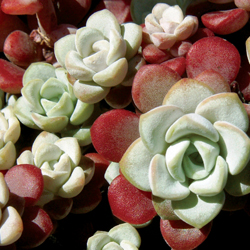
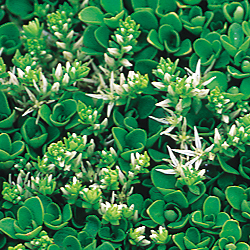
There is no reason any area of your landscape should go bare when there are so many spreading sedums that thrive under what would otherwise be adverse conditions. Easy-to-grow, sedums are available in a wide variety of leaf textures and heights to fit even awkward corners, narrow terraces or thin alleyways. Low-growing sedums not only act as a great ground cover for problem areas but also work well in unusual landscape designs such as rock gardens or on green roofs. Taller sedums look great when planted with ornamental grasses and easy perennials such as cone flowers and black-eyed-susans.

The thick, lush succulent can have any shade of green, gold, purple, red and even blue leaves, adding stunning color to your yard. Variegated foliage varieties add visual interest even when the plant is not blooming, ensuring a beautiful plant for a much longer season. Once planted, sedum varieties require very little care and do well even if neglected.

Our Favorite Sedums

Because sedums come in a variety of sizes, be sure to choose a plant with a mature size that will match your landscaping space. In addition to considering the plant’s horizontal spread, also consider its height to get the full visual impact of these great landscape additions.

The best tall sedums include…

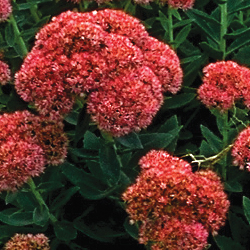
  • Autumn Joy – 2’ tall with pink flowers
  • Autumn Fire – 2’ tall with rose flowers that mature to a deeper coppery red
  • Black Jack – 2’ tall featuring deep purple foliage with brighter pink flowers
  • Carl – 2’ tall with magenta flowers that bloom in late summer
  • Matrona – 3’ tall with pale pink blooms and gray-green foliage that shows a hint of pink
  • Purple Emperor – 1 ½’ tall featuring red flowers and dramatically deep purple foliage

For smaller spaces when a low-growing plant is needed, consider these low-growing sedums…

  • Angelina – needle-like, yellowish-peach foliage with yellow flowers
  • Blue Spruce – needle-like blue foliage with contrasting yellow flowers
  • Bronze Carpet – green foliage tinged white and pink and featuring red flowers
  • Dragon’s Blood – dramatic bronze-red foliage with deep pink flowers
  • John Creech – scalloped green foliage with pink flowers
  • Larinem Park – grey-green rounded foliage with white flowers
  • Vera Jameson – pink-tinged grey-green foliage with coordinating pink flowers

No matter what your landscaping needs and preferences – filling an awkward area, opting for an easy-care plant, adding drama and color to your garden plan – sedums can be the perfect solution.

What a Knock Out!

Think you don’t have the time to take on all the upkeep, maintenance and care beautiful roses require? We have a fabulous solution and it’s a knock out, a Knock Out® rose that is. This shrub rose is the single greatest sensation to hit the plant market in years! Knock Out® roses are valued for their continued and profuse blooming with very little care. Not only are Knock Out® roses gorgeous and easy to care for but they are also drought tolerant, self-cleaning, and disease and pest resistant. Knock Out® roses are like no other rose on the market.

Site Selection

Planting your Knock Out® in the right location will help it flourish its very best.

  • Knock Out® roses grow to about 5’ tall x 5’ wide. Give them enough space to grow to full maturity without overcrowding that can dampen their brilliance.
  • Choose a planting location in full sun and with good air circulation to ensure the brightest blooms and best health.
  • Planting soil should be amended with compost and drain well. Prepping the soil before planting will ensure proper nutrition for your rose.
  • Soil pH should be slightly acidic, 6.0-6.5, but this plant will also thrive in slightly alkaline soils, with a pH as high as 7.5.

Planting

Give your Knock Out® the best advantages as it gets established by planting it properly.

  • Dig a hole twice as wide as the pot but no deeper than the containerized root ball.
  • Remove your Knock Out® rose from the container, massaging the container slightly to loosen the root ball and exerting gentle pressure on the stems, not the foliage.
  • Gently tease the root from the root ball to loosen roots so they will settle in to new soil more comfortably.
  • Place the plant in the hole, making sure that it is planted no deeper that it was in the container.
  • Backfill with amended soil and lightly press down around the plant to remove any large air spaces.
  • Mulch around your Knock Out® to keep weeds down and conserve soil moisture.
  • Water regularly until the plant is established.

Care

Knock Out® roses require much less extensive care than many other rose varieties, but some TLC will help keep your roses healthy and vibrant.

  • Once a year, apply about 2 inches of compost around the base of your Knock Out® rose. This helps replenish the soil’s nutrition for good growth and bright blooms.
  • Mulch yearly with 2-3 inches of mulch to conserve soil moisture and prevent weeds.
  • Fertilize your Knock Out® rose three times a year: early spring, early summer and fall. Fertilize with a slow-release product recommended for roses, and follow application instructions carefully.
  • At the same time that you fertilize, also broadcast one cup of Epsom salts, a source of magnesium, on the soil around the base of the plant.

Pruning

All roses require some minor pruning to help shape the bushes and encourage better blooming. To keep your Knock Out® as a true eye-catcher…

  • Correctively prune Knock Out® roses any time of the year with hand pruners. Make your cuts about 1/4 of an inch above a leaf. Use sharp, clean tools to avoid transmitting pests or diseases from other plants.
  • In early spring, each year, heavy pruning is recommended. Cut back the main stems to 1/3 of their height. Make your cuts 1/4 of an inch above an outward-facing bud for the best growth and shape.

Knock Out® Choices

Which Knock Out® is right for your yard? Any of these varieties is sure to be a hit!

  • Knock Out®: The original. Cherry red, single flowers.
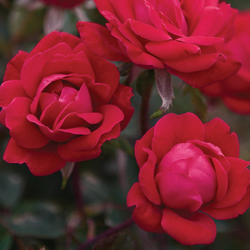
  • Double Knock Out®: Twice as much fun with cherry red, double flowers.
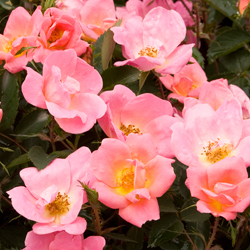
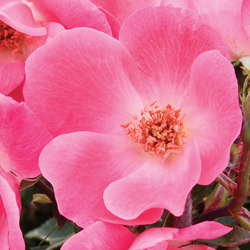
  • Pink Knock Out®: Bright pink, single flowers.
  • Pink Double Knock Out®: Double duty with bright pink, double flowers
  • Rainbow Knock Out®: Single flowers in coral-pink with yellow centers.
  • Blushing Knock Out®: Gentle beauty with pale pink, single flowers.
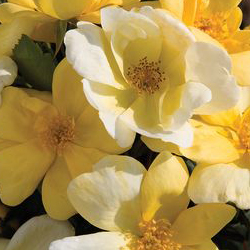
  • Sunny Knock Out®: A splash of brightness with fragrant yellow, single flowers.

Summer Lavenders

Do you enjoy making herbal or floral bouquets and wands to scent the house? Maybe you’re into the lavender cooking trend or like to infuse playful summer drinks with a floral touch. Perhaps you recognize the aromatherapy or medicinal qualities of lavender.

In other words, do you love lavender and are frustrated because the bloom season is so short?

Whatever you do with your lavender, you may have planted one and it bloomed for a few weeks. Now you think you have to wait another year to enjoy the beauty and fragrance. That’s no fun! But here’s a secret to prolong your passion during lavender season…

About Lavenders

There are actually three groups of lavenders. Members of each group bloom around the same length of time, but each group blooms at different times. By planting at least one member of each group, you can enjoy lavender from early spring to mid-summer (and sometimes even longer with careful watering).

Members of the “Non-English Lavenders” bloom from early to late spring. “English Lavenders” follow and bloom from late spring to early summer. True summer lavenders, known as “Lavendins,” continue blooming into the hottest days of summer.

Also called “English Lavender hybrids,” the varieties in this summer group are crosses between the Portuguese and English Lavenders. They all have large gray leaves, grow into large plants, and grow best in the heat. They are all very fragrant, making them welcome additions to any lavender garden.

Abriali Lavender was one of the first hybrids. It produced cosmetic-grade oil until Grosso Lavender replaced it with superior oil production. Happily, gardeners can also enjoy Grosso in their gardens, as it’s frequently available at garden centers.

White Grosso Lavender, with the same beauty and fragrance, provides a nice background for a mixed flower border. Edelweiss Lavender, a smaller white lavender, mixes nicely in the garden, without a reduction of fragrance.

Hidcote Giant Lavender and Provence Lavender are garden center favorites. Approximately the same size, the Hidcote Giant has darker flowers than the Provence, which has a longer flower wand. Sachets usually contain Provance buds because they are exceptionally easy to remove from the stalk. Other popular varieties include Grappenhall, Dutch Mill, Seal and Fred Boutin lavenders.

Lavenders In the Garden

Growing lavenders could not be easier. All thrive in full sun in warm, well-drained, average quality soil. Dampness, either through poor drainage or humidity, will kill them. They grow well in pots with good drainage and fair soil. Prune after blooming to shape the plants and promote future blooming. While lavender is drought resistant, if the soil is dry, it is necessary to water well. Water again only when the soil is dry. Using compost as fertilizer will provide critical nutrients and improve soil drainage.

Using Lavender

Lavenders are very attractive to bees. They happily buzz from flower to flower while collecting pollen. Some honey producers site their hives in the middle of lavender fields to produce lavender-scented honey. The honey’s aroma is a great way to start the day!

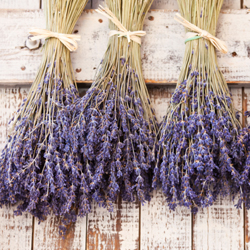
Drying lavender for future use is easy. Cut bundles of wands from the plants without cutting into the older woody part of the plant. Use a rubber band to hold the bundles together and hang them upside down in a dark, dry room such as an attic or closet. The darkness helps retain the bloom color. The bundle should be dry in 7-10 days.

Although lavender’s taste isn’t the same as its fragrance, lavender dishes appear in many trendy restaurants. Lavender martinis and teas, ice cream, cookies and other desserts accompany lavender-sauced meats and vegetarian dishes. Lavender is an ingredient in the herbs de Provence mix and replaces strong tasting herbs such as rosemary, thyme or mint in many cookbooks for meats, breads and general seasonings.

Some folks even use lavender as an antibacterial antiseptic to treat wounds and insect stings.

Even if you just want to enjoy lavender for the sake of its beauty and ease of maintenance, remember… Planting one of each of the three groups lets you love your lavender for three times as long. Enjoy!