Author Archives: Hilltop Nursery

Early Native Perennials That Shine

Top Early-Blooming Native Perennials for Your Pollinator Garden

As winter fades and the days grow longer, the first hungry pollinators emerge in search of nectar. Unfortunately, many landscapes are still waking up, leaving a critical food gap for early-season bees and hummingbirds.

At Hilltop Nursery, we believe in gardening with a purpose. By incorporating early-blooming native perennials, you can provide essential resources for local wildlife while adding a splash of color to your spring landscape. Here are seven of our favorite “early risers” to get your garden buzzing.

7 Essential Early Natives

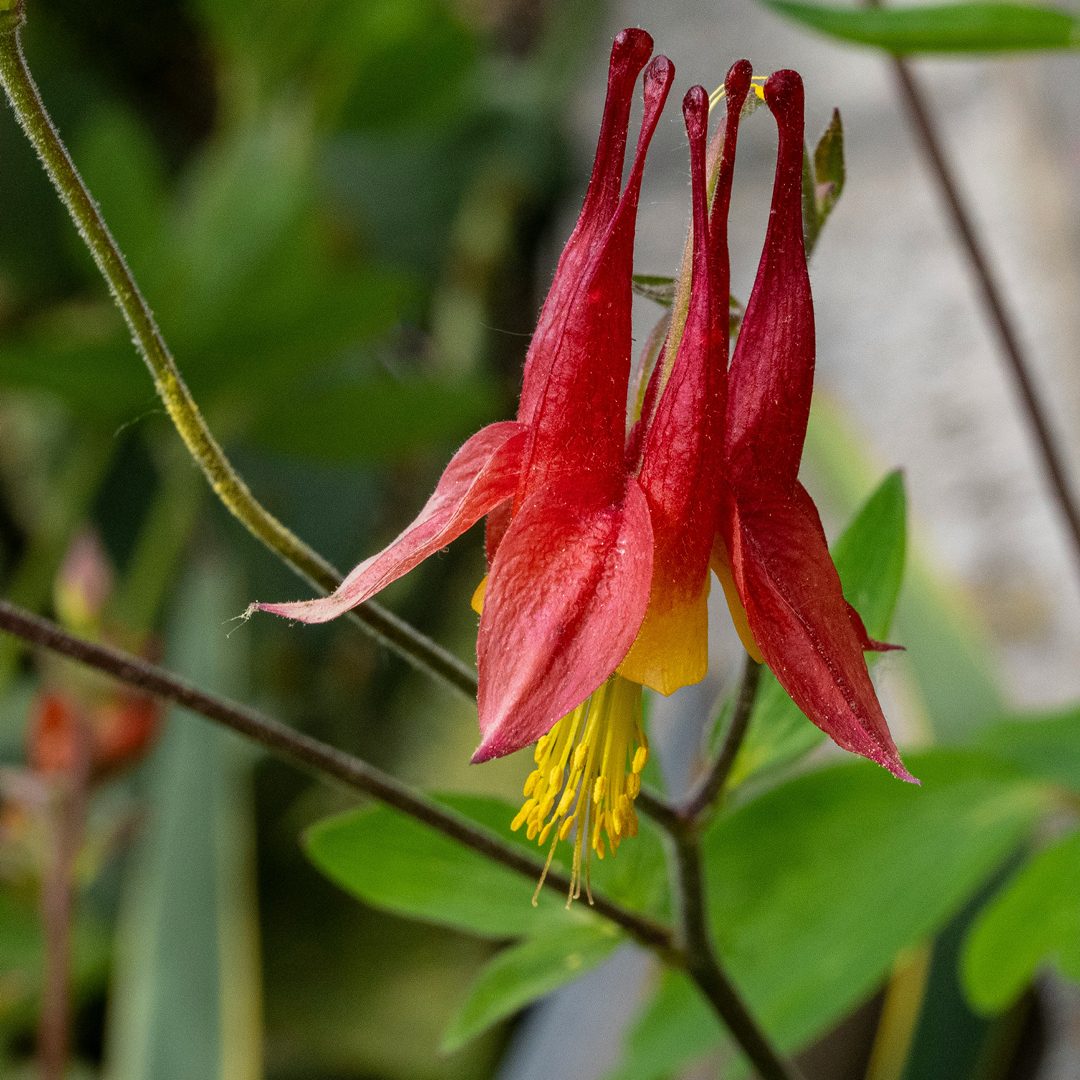
  • Wild Columbine (Aquilegia canadensis): Known for its nodding, lantern-like red and yellow blossoms, this woodland favorite is a magnet for returning hummingbirds. It thrives in part shade and blooms in late spring when few other sources are available.
  • Golden Alexander (Zizia aurea): This reliable perennial offers bright yellow umbels that attract small bees and wasps. It’s also a vital host plant for Black Swallowtail butterfly larvae, making it a dual-purpose powerhouse for your garden.
  • Virginia Bluebells (Mertensia virginica): A classic spring ephemeral, these stunning trumpet-shaped flowers transition from pink buds to brilliant blue blooms. They naturalize beautifully in moist, shaded areas, providing early nectar before fading back in summer.
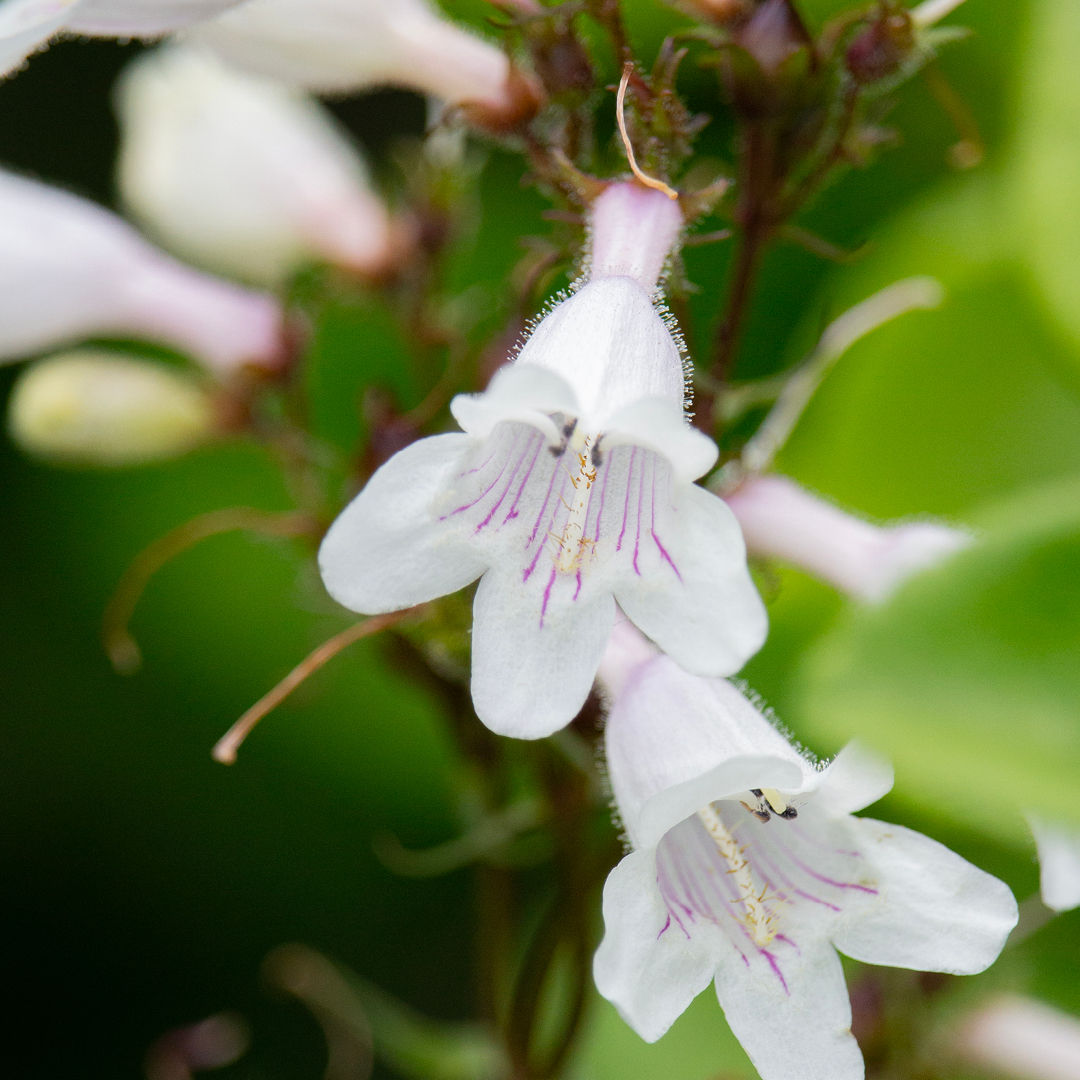
  • Foxglove Beardtongue (Penstemon digitalis): Adding upright structure to the garden, these white, tubular flowers are perfect for long-tongued bees. It’s highly adaptable, drought-tolerant, and supports specialist species like the Penstemon miner bee.
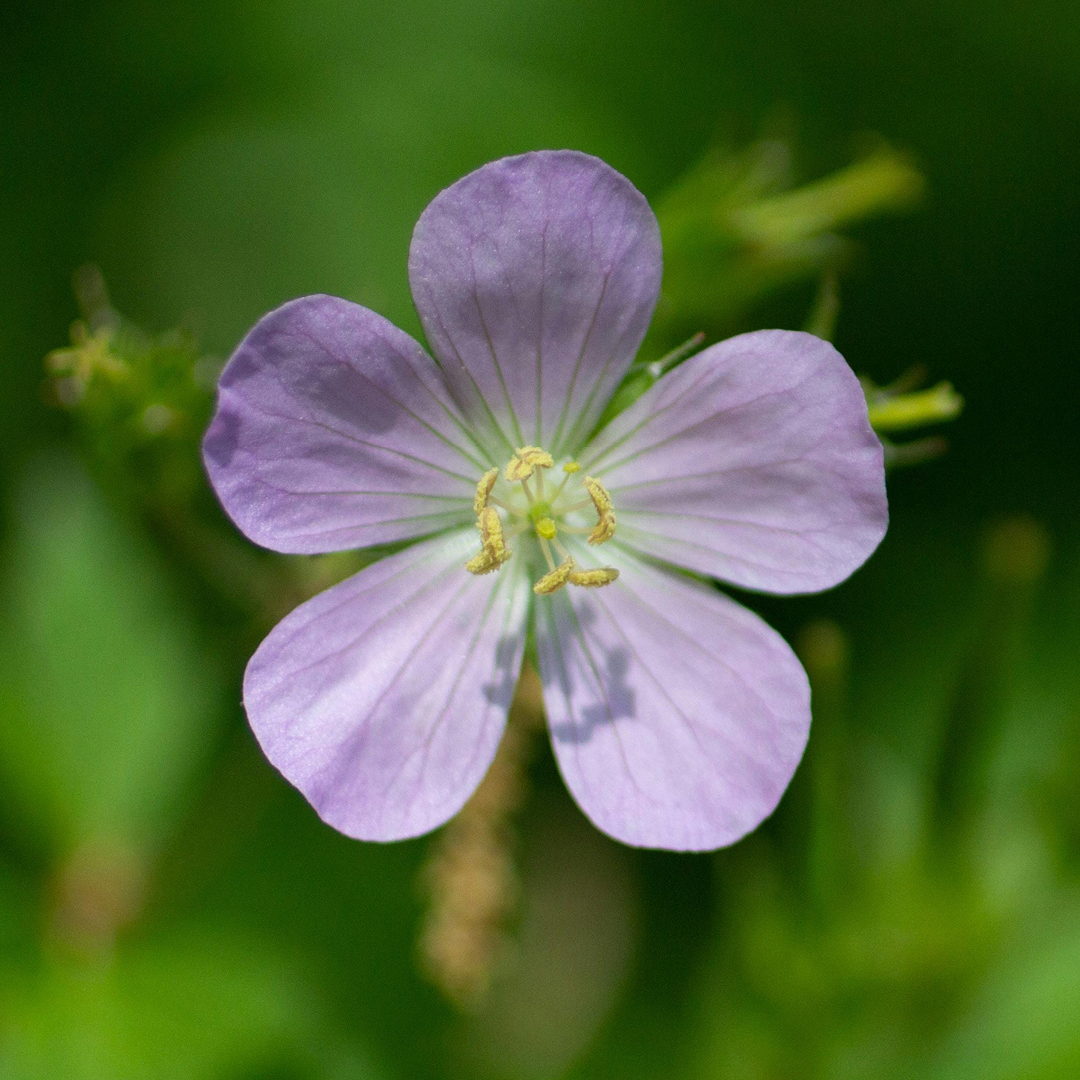
  • Wild Geranium (Geranium maculatum): One of the most reliable natives for shade, Wild Geranium produces soft lavender-pink blooms. It is an excellent nectar source for bumble bees and hoverflies in woodland settings.
  • Prairie Smoke (Geum triflorum): Famous for its pink, nodding flowers that turn into feathery seed plumes, this low-growing plant offers great texture. It provides early-season pollen for ground-nesting bees.
  • Foamflower (Tiarella cordifolia): With airy white flowers, Foamflower is an ideal ground cover for shady spots. It spreads gently and offers long-lasting blooms for hungry insects.

Design Tips for a Pollinator Haven

  • Plant in Drifts: Grouping at least 3–5 plants of the same species helps pollinators forage more efficiently than single, isolated plants.
  • Ensure Continuous Blooms: Pair these early bloomers with summer and fall favorites like Coneflower and Goldenrod to provide food all season long.
  • Leave the Leaves: Don’t be too tidy! Leaf litter and hollow stems provide essential nesting habitat for the insects you are trying to attract.

Start Your Season with Us!

Ready to transform your spring landscape into an ecological hub? Whether you are starting from scratch or filling in gaps, we are here to help. Visit Hilltop Nursery today to explore our selection of regionally appropriate native plants and get expert advice on the best species for your space.
early blooming native perennials

early blooming native perennials

early blooming native perennials

Spotting Early Spring Natives

Spring is a magical time in the garden, signaling renewal and the emergence of native plants that have weathered the winter dormancy. Recognizing these early bloomers and foliage can help gardeners plan for succession planting, provide early food for pollinators, and ensure a cohesive, thriving landscape. Understanding their characteristics and growth habits is key to identifying and nurturing them successfully.

Understanding Native Plant Emergence

Native plants have evolved to respond to local seasonal cues such as temperature, soil moisture, and day length. In early spring, many perennials, shrubs, and trees break dormancy with subtle signals—tiny shoots, swollen buds, or early flowers. Recognizing these cues allows gardeners to provide appropriate care, such as early mulching, protective watering, or frost precautions.

Key Identification Tips

  1. Bud Characteristics: Look for swollen, often brightly colored or fuzzy buds on trees and shrubs. Species such as witch hazel, spicebush, and redbud exhibit distinct early swelling before leaf emergence.
  2. Ground-Level Shoots: Early-emerging perennials like bloodroot, trillium, and Virginia bluebells send up basal shoots that can be distinguished from weeds by their smooth, often glossy texture.
  3. Flowering Before Leafing: Some natives bloom before their foliage fully develops. Hepatica, bloodroot, and spring beauties are prime examples, providing nectar for early pollinators.
  4. Leaf Shape and Texture: Young leaves often have unique shapes or colors. For example, mayapple emerges with umbrella-shaped leaves, while jack-in-the-pulpit produces a distinctive hooded foliage. Observing these traits can confirm species identity before flowering occurs.
  5. Soil and Microclimate Clues: Many early natives prefer specific conditions. Moist woodland areas may host trillium and wild ginger, while drier, well-drained slopes encourage wild columbine and native geraniums.

Observing Growth Patterns

Native plants often emerge in a predictable sequence, from the earliest ephemerals to later perennials. Maintaining a garden journal or photographing early growth can help track which species emerge first, assisting with future landscape planning and providing insight into seasonal variations.

Encouraging Early Growth

While native plants are adapted to local conditions, gardeners can support healthy early emergence by:

  • Applying a thin layer of mulch in late winter to moderate soil temperature.
  • Ensuring adequate moisture without waterlogging.
  • Avoiding early fertilization that may stimulate excessive tender growth susceptible to frost damage.

Benefits of Recognizing Early Natives

Identifying early-emerging native plants provides multiple advantages. These plants often:

  • Supply essential nectar and pollen for emerging pollinators.
  • Establish a foundation for layered plantings that provide continuous interest throughout the season.
  • Serve as indicators of soil health and microclimate suitability for other plantings.

By paying attention to subtle cues and familiarizing yourself with native species’ early growth traits, you can foster a thriving, biodiverse garden that supports wildlife and celebrates seasonal change.

Hilltop Nursery encourages gardeners to take a closer look each spring and discover the first signs of life that herald the season ahead.

early spring natives

early spring natives

early spring natives

Planting Bare-Root Trees

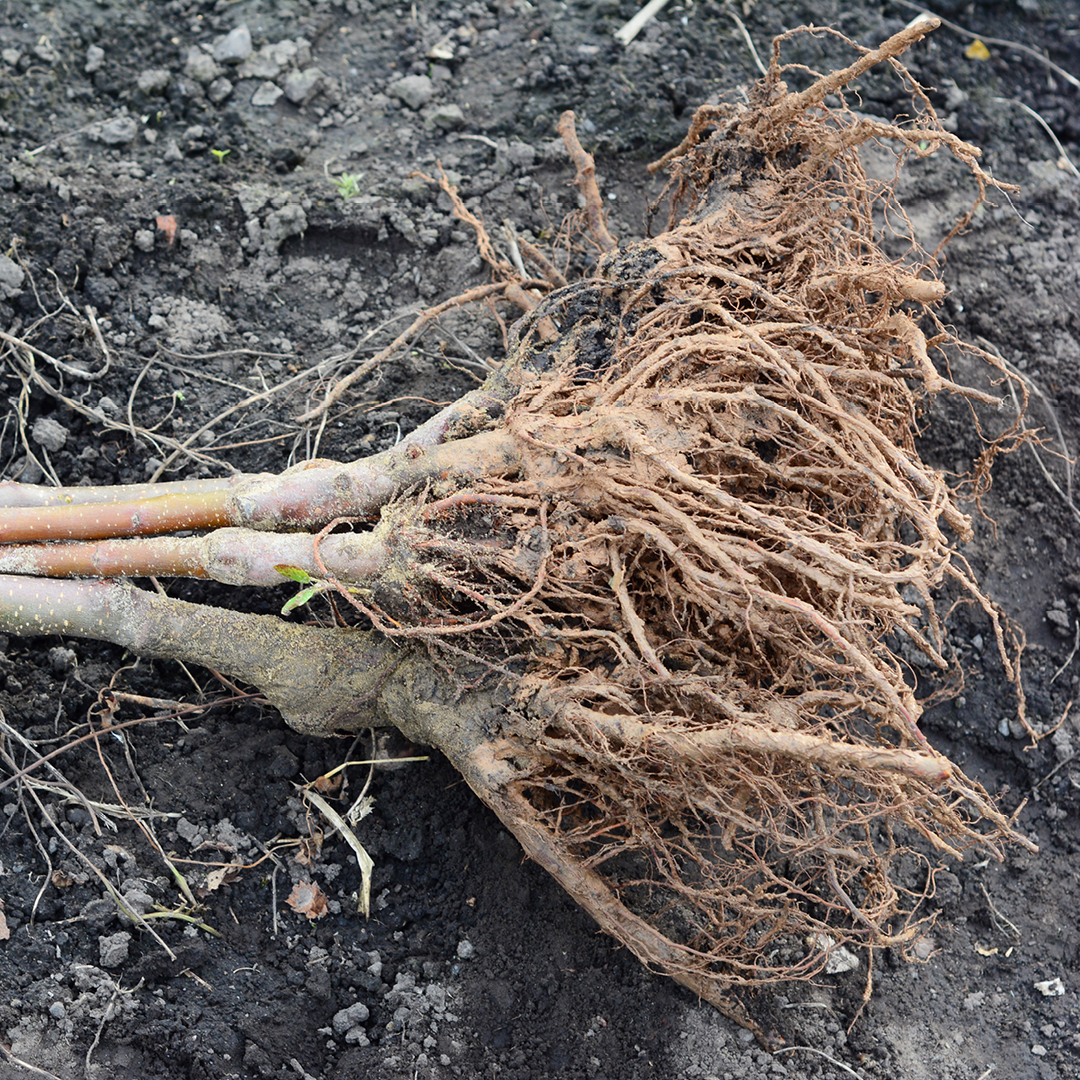
Bare-root trees provide one of the best ways to establish strong, long-lived landscape trees. Because they are planted while dormant, they settle into the soil, form roots quickly, and often outperform container-grown trees after just a few seasons. Whether you’re planting flowering ornamentals, shade trees, evergreens, or fruit trees, technique and timing make all the difference.Bare-root trees are available only during a short seasonal window—late winter through early spring—before the growing season begins. Planting during this period helps reduce transplant shock and improves long-term health and stability.

Why Bare-Root Trees Excel

Without potting soil or container restrictions, bare-root trees have natural, uncirculated root systems capable of adapting immediately to native soil. This leads to improved anchoring, better nutrient uptake, and stronger drought resilience over time.

They are lighter, easier to move, and often cost less—making them ideal for both home gardeners and large landscape installations.

Preparing the Tree Before Planting

  • Keep roots moist but not submerged until planting.
  • Store in a cool, shaded location—never allow roots to freeze or dry out.
  • Soak roots in water for one to two hours before planting to rehydrate.

If planting must be delayed more than a few days, temporarily “heel in” the roots with soil or mulch.

Knowledge Tip: Tree Size Matters

  • Smaller bare-root trees (typically 2–4 years old, 0.5–1″ trunk diameter) are easier to establish and adapt quickly to their new environment. They require less initial water and support and tend to recover from transplant shock faster.
  • Larger bare-root trees (2″ diameter or more, occasionally offered) can be planted bare-root, but they are more challenging to establish because the root system must support a larger canopy. Extra attention to watering, staking (if needed), and mulching is critical for their success.
  • Fruit trees are commonly sold bare-root with trunks as small as 0.75″ as young stock. These young trees establish readily, while larger specimens require careful handling to ensure the graft union remains above soil and roots are fully supported.

How to Plant Bare-Root Trees

Follow this order for the best success:

  1. Dig the planting hole.
    Make it two to three times wider than the roots, but only deep enough so the tree will sit at the correct finished height.
  2. Locate the graft union (if present).
    Most fruit and ornamental trees are grafted. The graft union appears as a subtle bulge, bend, or seam low on the trunk.
    This point must remain above soil level—typically 2–3 inches above final grade.
    Planting too deep can cause improper rooting from the scion and reduce hardiness, stability, and performance.
  3. Create a soil mound in the center of the hole.
    Spread the roots outward over the mound so they sit naturally—not bent or circling.
  4. Backfill with the soil you removed.
    Avoid adding potting mix or rich compost during planting, as this can discourage roots from spreading into the surrounding soil.
  5. Water deeply as you fill.
    This helps settle soil around the roots and eliminates air pockets.
  6. Mulch properly.
    Apply 2–3 inches of mulch around the tree, keeping a small mulch-free gap right around the trunk.
  7. Stake only if necessary.
    Trees develop stronger trunks when allowed to sway slightly in the wind. Larger bare-root specimens are more likely to require temporary staking until roots establish.

Should You Fertilize at Planting?

Avoid traditional high-nitrogen fertilizer during planting. Early fertilizer can encourage premature leaf growth before the root system is ready to support it.

Instead, consider:

  • Mycorrhizal root inoculants to increase nutrient and moisture uptake.
  • Root stimulators containing humic acids, kelp extract, or B vitamins.

Regular fertilizing can begin the following growing season, once new foliage appears and the tree shows signs of establishment.

After-Planting Care

For the first one to two years, deep, consistent watering is the most important maintenance step. Water slowly and deeply once or twice per week, depending on rainfall and soil drainage.

Avoid major structural pruning at planting unless removing broken or crossing branches. Formative pruning can begin after the tree is established.

Types of Bare-Root Trees and How They Behave

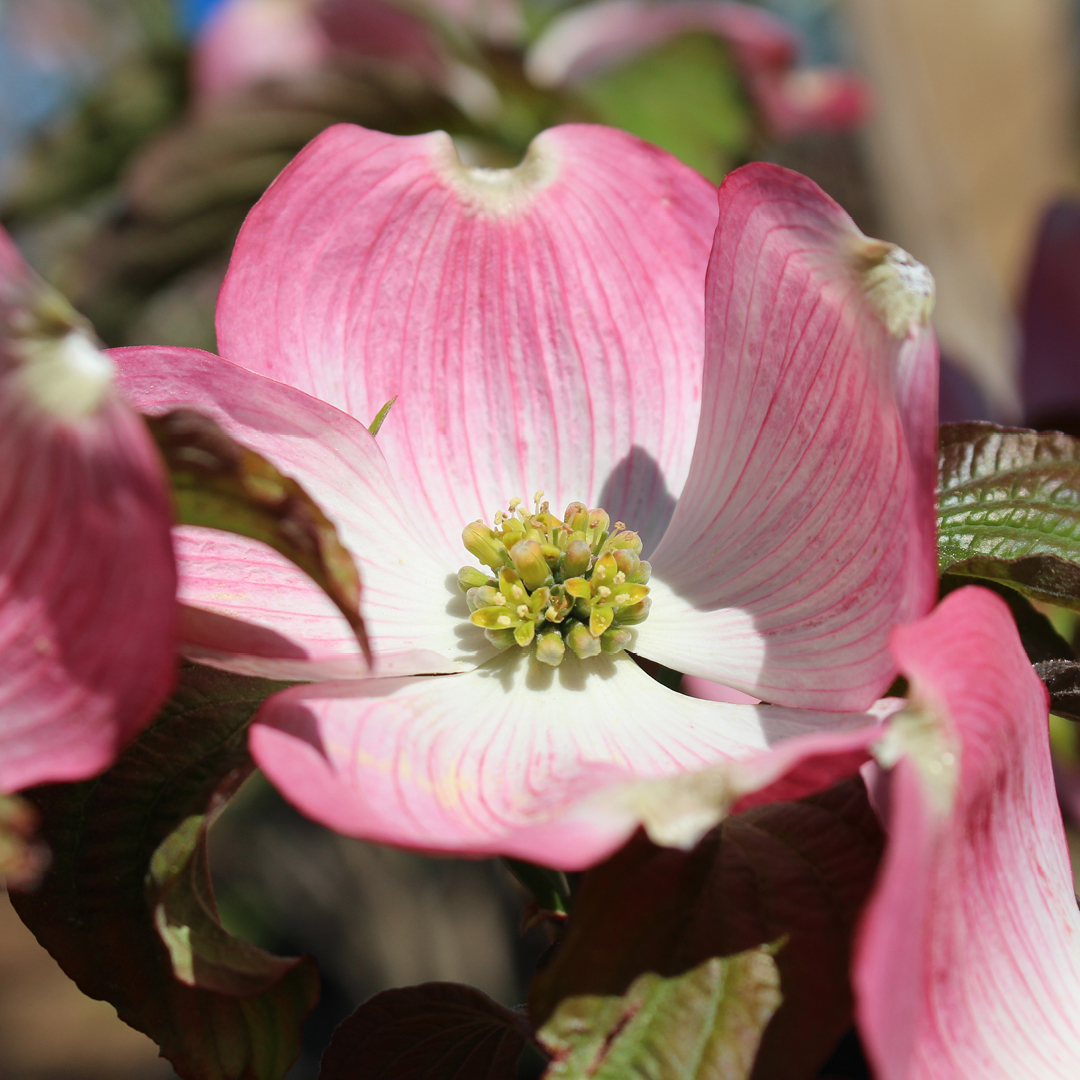
Flowering Trees – Dogwood, crabapple, redbud, and flowering cherry adapt beautifully in bare-root form. Their fine root systems establish quickly, helping them develop healthier branching and better bloom displays long-term.

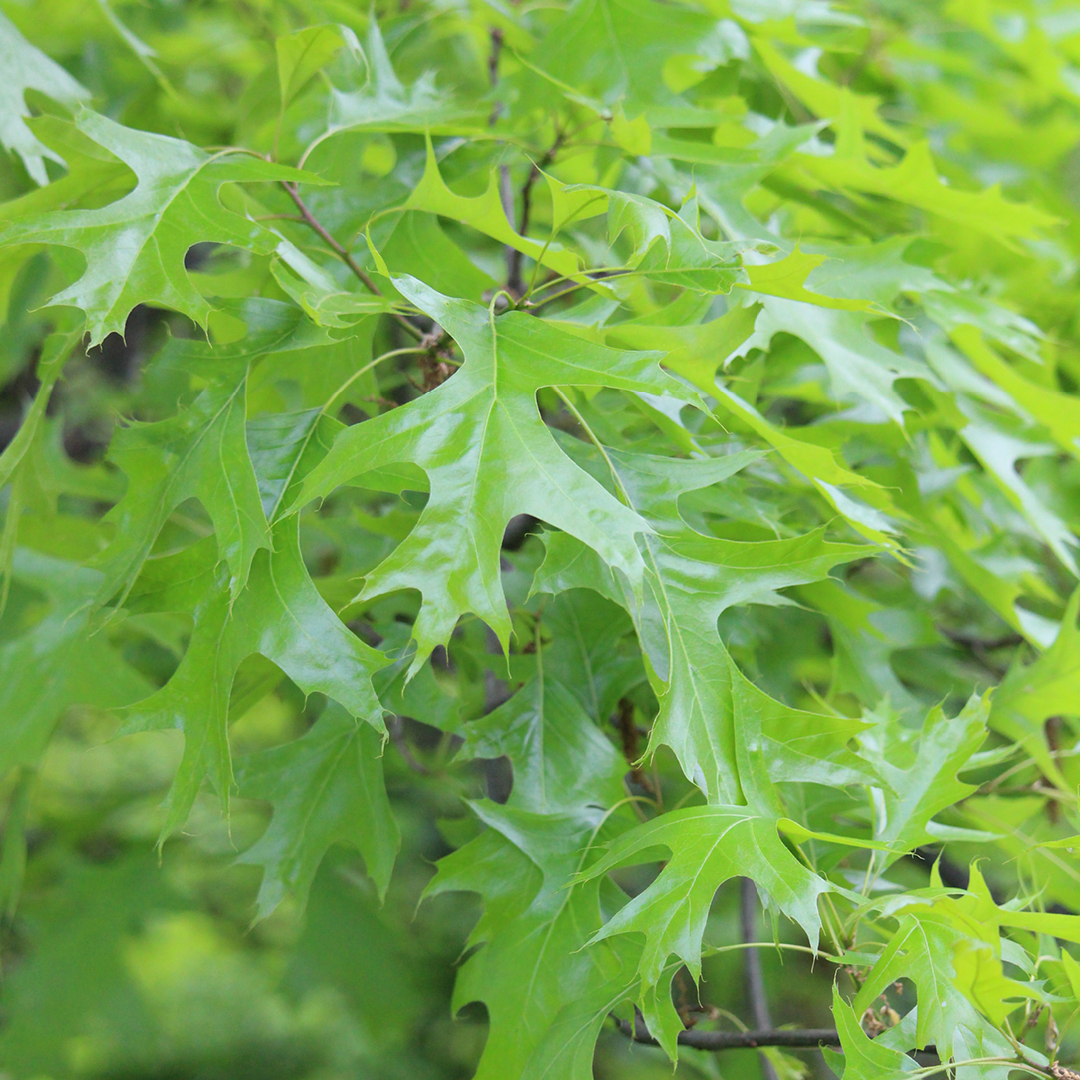
Shade Trees – Maple, oak, hackberry, linden, and elm often grow faster and straighter when planted bare-root. Early pruning for a strong central leader helps them mature into stable, structurally sound shade trees.

Evergreen Trees – Spruce, fir, and some pine species can be planted bare-root with success if roots remain moist and transplanting occurs early enough in the season to prevent moisture loss through their foliage.

Fruit Trees – Apple, pear, peach, plum, and cherry respond exceptionally well when planted bare-root. Because most are grafted, correct graft height is especially crucial for longevity and productivity. Young trees with trunks around 0.75″ diameter are easier to establish, while larger bare-root fruit trees require careful handling and attentive care.

 Bare-root trees offer an economical, lightweight, and highly effective option for early-season tree planting. With careful planting depth, graft union awareness, attention to tree size, proper root care, and consistent watering, these trees quickly develop into some of the healthiest and most resilient specimens in the landscape.

If you’re choosing varieties or gathering supplies, the team at Hilltop Nursery can help ensure you get the right tree, amendments, and tools for long-term success.

planting bare-root trees

planting bare-root trees

planting bare-root trees

March Garden Momentum

March signals the true start of the growing season. As nature wakes up—buds swelling and daylight stretching—it’s the perfect time to set the stage for a thriving garden. Use this early spring checklist to help your landscape transition smoothly into the active months ahead.

Inspect and Tidy Garden Beds

Winter often shifts plants and leaves behind debris.

  • Remove Debris: Clear fallen branches and leftover leaves that may harbor pests.
  • Avoid Compaction: Steer clear of walking on thawing soil to prevent damaging its structure.

Prune Shrubs and Trees

Now is the ideal time to shape up your woody plants before new growth emerges.

  • Prune Now: Fruit trees, roses, and summer-blooming shrubs. Remove dead wood and cross-branching stems.
  • Wait to Prune: Spring bloomers like lilac, forsythia, and magnolia should only be pruned after they flower.

Divide Perennials

Enhance plant vigor by dividing overcrowded clumps as soon as growth appears.

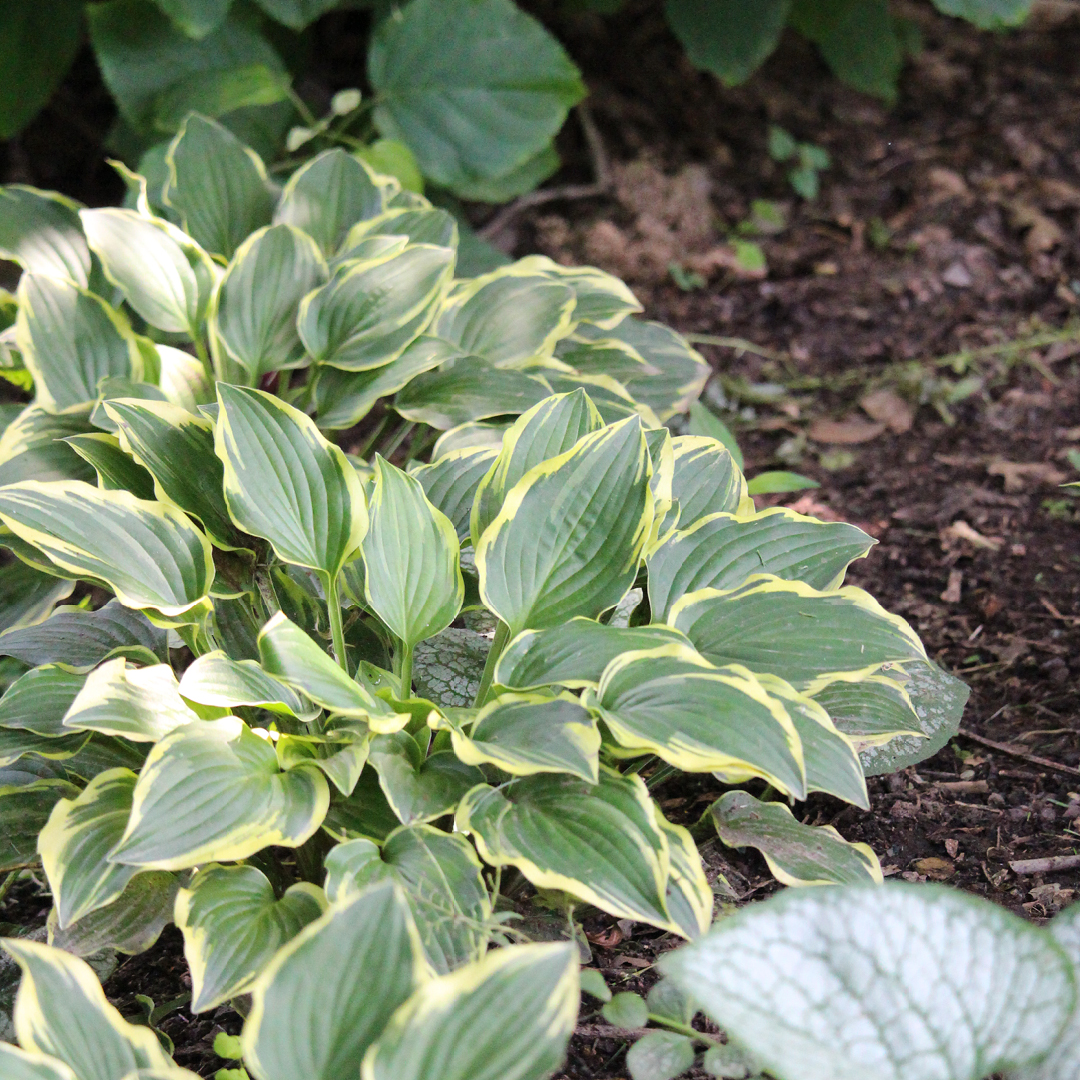
  • Target Plants: Hostas, daylilies, ornamental grasses, and coneflowers benefit greatly from division now.

Prepare the Soil

Healthy soil is the foundation of a resilient garden.

  • Amend Soil: Once the ground is workable (not muddy), mix in compost or organic matter to boost nutrient content and moisture retention.

Start Seeds Indoors

Give cool-season crops a head start under grow lights.

  • Sow Now: Lettuce, kale, broccoli, snapdragons, and petunias. Always check your local frost date guidelines for timing.

Maintain Garden Tools

Sharp, clean tools prevent the spread of disease and make work easier.

  • Tool Care: Sharpen pruners, oil wooden handles, and disinfect cutting surfaces.

Apply Dormant Oil

Control overwintering pests before buds break.

  • Pest Management: Spray fruit trees and roses with dormant oil to manage aphids, mites, and scale. Ensure temperatures remain above freezing during application.

Refresh Mulch and Edges

Mulch moderates soil temperature and suppresses weeds.

  • Mulching: Fluff existing mulch or add fresh material, keeping it away from plant stems.
  • Edging: Redefine bed edges now for a polished look all season.

Plan Your Planting

Map out your garden expansions to support biodiversity.

  • Biodiversity: Incorporate native plants, herbs, and pollinator-friendly flowers to enhance habitat health.

Visit Hilltop Nursery

Stock up on essential supplies as spring progresses.

  • Shop Local: Find seeds, soil amendments, and early-blooming shrubs. Our staff is ready to help connect you with successful local growing practices.

Early spring preparation sets the rhythm for the year. With thoughtful planning, your garden will reward you with vibrant blooms and productive harvests in the months ahead.

early spring garden checklist

early spring garden checklist

early spring garden checklist

Cold Soil Vegetable Favorites

It happens every year around March. The days get a little longer, the birds start singing, and you get that undeniable itch to get out in the garden. But while your spirit is ready, the ground often isn’t.

Early spring soil is tricky. It is cold, damp, and slow to warm up. If you plant heat-loving crops like tomatoes or peppers now, they will likely rot before they even sprout. However, you don’t have to wait until May to start growing food. Nature has provided us with an incredible lineup of vegetables that actually prefer the chill of March and April. By choosing the right crops and using a few smart techniques, you can have a lush, productive garden weeks before your neighbors.

Why Cold Soil Isn’t a Dealbreaker

For many seeds, cold soil is a “do not enter” sign. It slows down germination and prevents roots from taking up nutrients. But cool-season crops are different. These hardy plants are biologically programmed to wake up when soil temperatures are as low as 40–50°F. In fact, many of them taste sweeter and have a crisper texture when grown in the cool air of early spring rather than the heat of summer.

Top Picks for March and April Sowing

If you are ready to brave the brisk air, here are the best vegetables to direct sow right now:

  • Peas: There is nothing quite like the taste of a garden-fresh pea. These are the classic early spring crops. They are incredibly hardy and can go into the ground as soon as the soil can be worked in March. Give them a trellis to climb, and you will be snacking in no time.
  • Spinach: This leafy green is a champion of the cold. It thrives in cool, moist soil and germinates quickly. Sow it in March for baby greens that are tender and sweet.
  • Radishes: If you want instant gratification, plant radishes. They are fast-growing and aren’t bothered by cold soil. You can often harvest them just a few weeks after planting in April.
  • Lettuce: Cool soil is actually preferred for lettuce germination. Plant a mix of varieties for a beautiful and tasty salad bowl. Just be ready to harvest before the summer heat makes them bitter.
  • Carrots: While they can be a bit slow to wake up in cold soil (sometimes taking up to three weeks), early spring carrots are worth the wait. The cool temperatures concentrate sugars in the roots, making them incredibly sweet.
  • Beets: These earthy gems tolerate light frosts well. Sow them in April when the soil has warmed slightly to around 50°F. Don’t forget that you can eat the greens while you wait for the roots to bulb up!
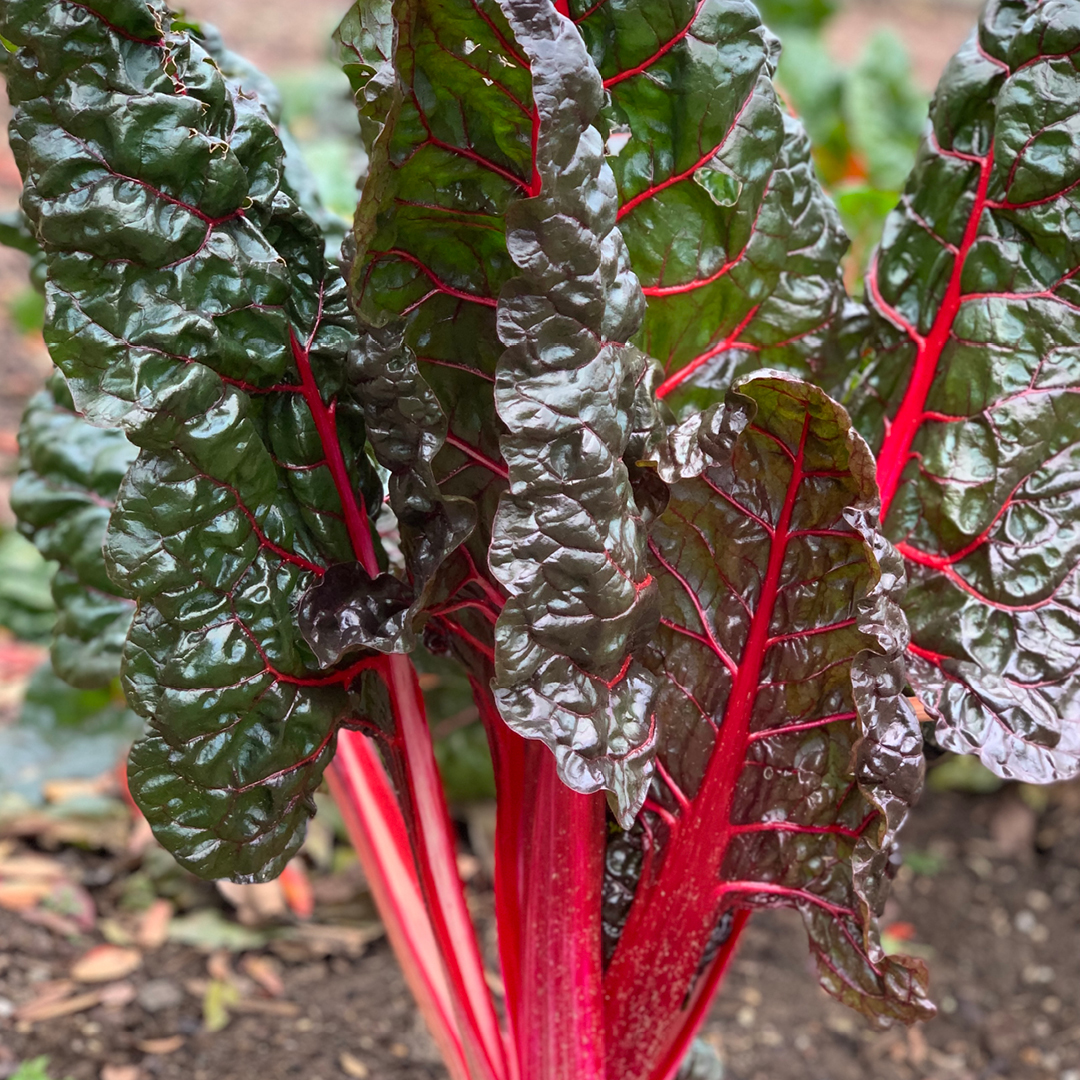
  • Kale and Chard: These are the workhorses of the vegetable garden. Both are extremely cold-tolerant. Chard might take a moment to get going, but once it establishes, it will provide harvests well into the warmer months.

Tips for Success in Chilly Weather

Gardening in March and April requires a slightly different approach than summer gardening. Here is how to ensure success:

  • Do the Squeeze Test: Before you dig, grab a handful of soil and squeeze it. If it drips water or forms a tight, sticky ball, it is too wet to work. Digging in wet, cold soil can ruin its structure. Wait until it crumbles loosely in your hand.
  • Boost the Heat: You can cheat a little by using row covers or cloches. These lightweight fabrics act like a mini-greenhouse, trapping heat near the soil surface and protecting tender seedlings from those surprise late frosts.
  • Don’t Bury Them Deep: In cold soil, seeds often do better when planted slightly shallower than usual, as the surface warms up faster during the day.
  • Keep it Coming: Don’t plant everything at once. Use succession planting by sowing a new row of lettuce or radishes every two weeks. This ensures you have a continuous harvest rather than one giant glut of vegetables.

Spring is a time of renewal, and there is no better way to celebrate than by coaxing life from the cold earth. So grab your seeds and get out there—your future salads are waiting!

cold soil vegetable planting

cold soil vegetable planting

cold soil vegetable planting

Secrets of Spring Bees

As the gray of winter finally starts to lift in March and April, there is a hidden world waking up right under our noses. While we might be eager to get outside and scrub the garden clean, the landscape is busy preparing for one of the most magical events of the year: the return of our native pollinators.

Deep inside hollow stems, tucked under layers of wet leaves, and buried in soil cavities, countless native bees are waiting. They are waiting for the sun to stick around and the warmth to settle in before they emerge to feed, pollinate, and build their nests.

So, how do we welcome these vital guests? Surprisingly, the best thing you can do right now is often nothing at all. Here is how you can transform your yard into a safe haven for pollinators this spring.

Master the Art of Being Messy

It is tempting to grab the rake the moment the snow melts, but patience is a virtue here. Native bees do not all wake up at once; many hit the snooze button until daytime temperatures are consistently above 50°F.

  • Leave the leaves: Hold off on raking or blowing leaves until the weather is consistently warm. Those piles are often blankets for sleeping larvae.
  • Save the stems: Keep your hollow perennial stems standing at about 8–18 inches tall. These are natural hotels for cavity-nesting bees.
  • Keep the seed heads: Avoid removing last year’s growth too early, as it provides shelter in unpredictable spring weather.

Serve the First Meal

When bees finally emerge, they have burned through their winter energy reserves and are essentially running on fumes. They need high-quality fuel immediately. Early-blooming plants are their lifeline. Consider adding these Zone-appropriate favorites to your landscape:

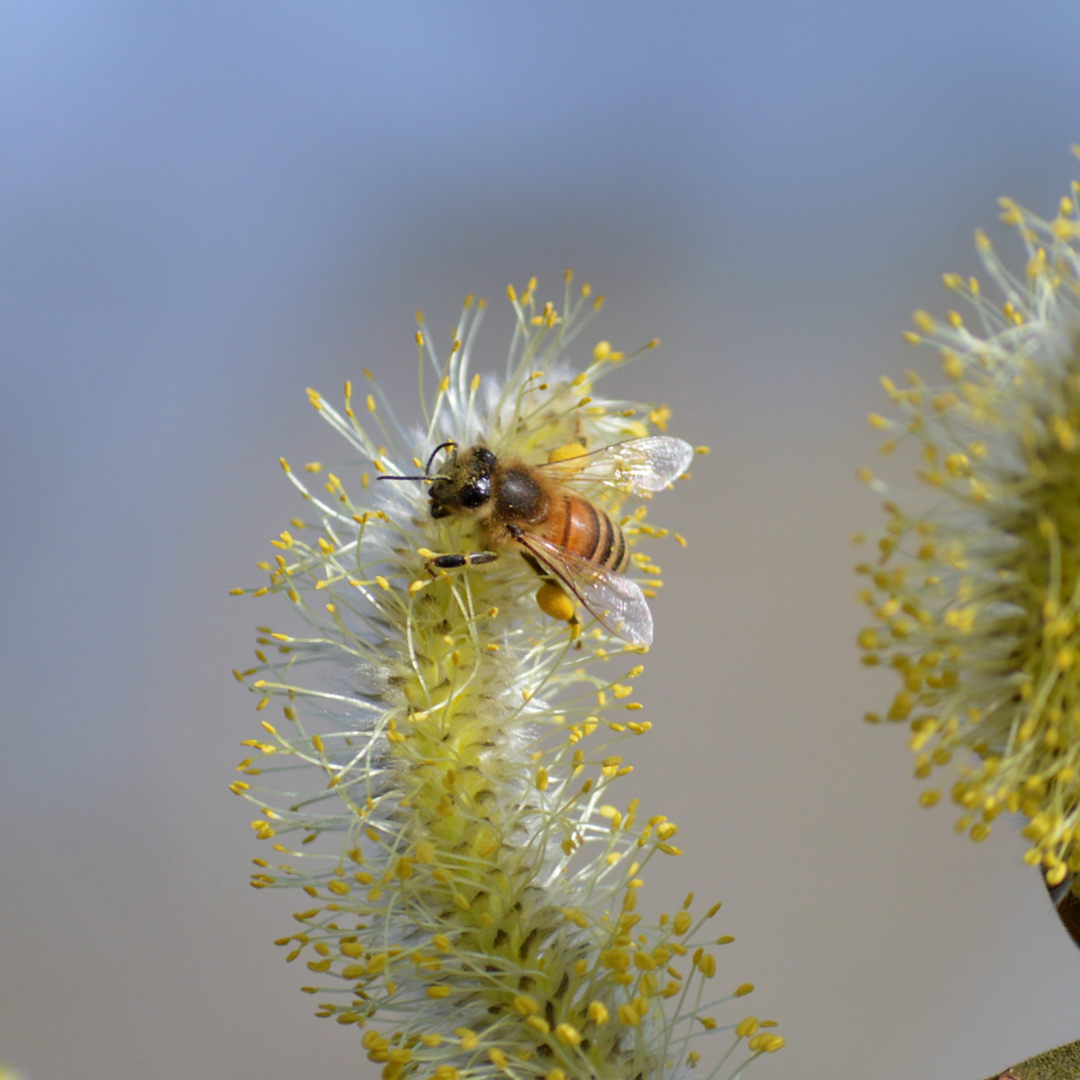
  • Trees and Shrubs: Witch Hazel, Red Maple, Serviceberry, and Pussy Willow offer massive amounts of pollen.
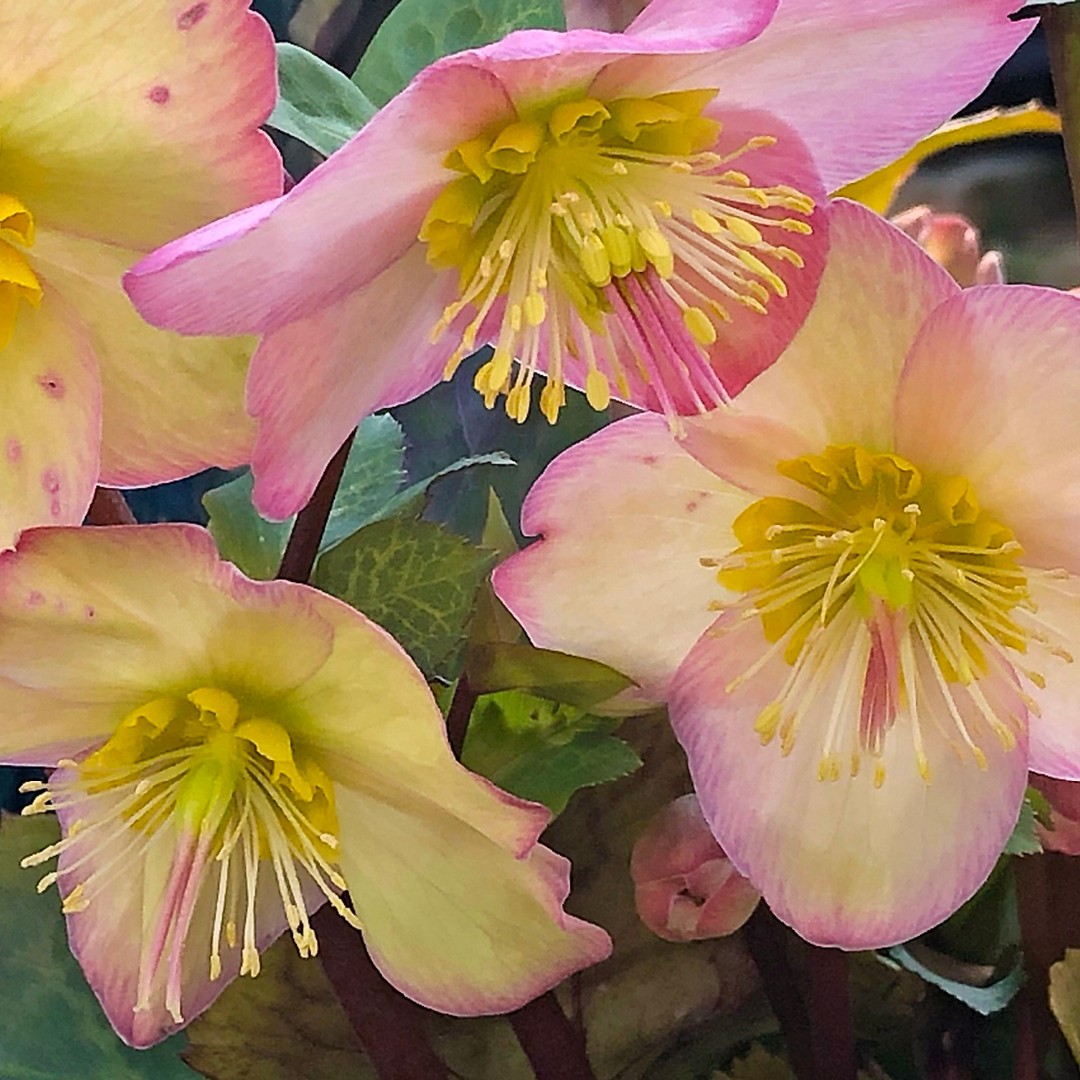
  • Flowers: Hellebore, Bloodroot, Crocus, Snowdrop, and Hepatica provide accessible nectar.

The Ground Beneath Your Feet

Unlike the honeybees we often see in cartoons, most native bees are solitary and don’t live in hives. Many of them actually live underground. To support them, you need to rethink your mulch strategy.

  • Leave it bare: Try to leave some patches of soil free of mulch. Ground-nesting bees need access to the dirt to dig their tunnels.
  • No tilling: Avoid tilling your garden beds during this season, as you might disturb resting bees.
  • Create a wild corner: Set aside a hidden spot in the yard where you do minimal cleanup and leave natural debris.

Create a Safe Zone

Nothing ruins a welcome party like toxic chemicals. Synthetic pesticides and systemic insecticides can linger in the ecosystem and harm bees before flowers even bloom.

  • Skip the spray: Avoid neonicotinoids or products labeled as systemic.
  • Trust nature: Encourage a balance of beneficial insects to handle pests naturally rather than reaching for the spray bottle.

The Watering Hole

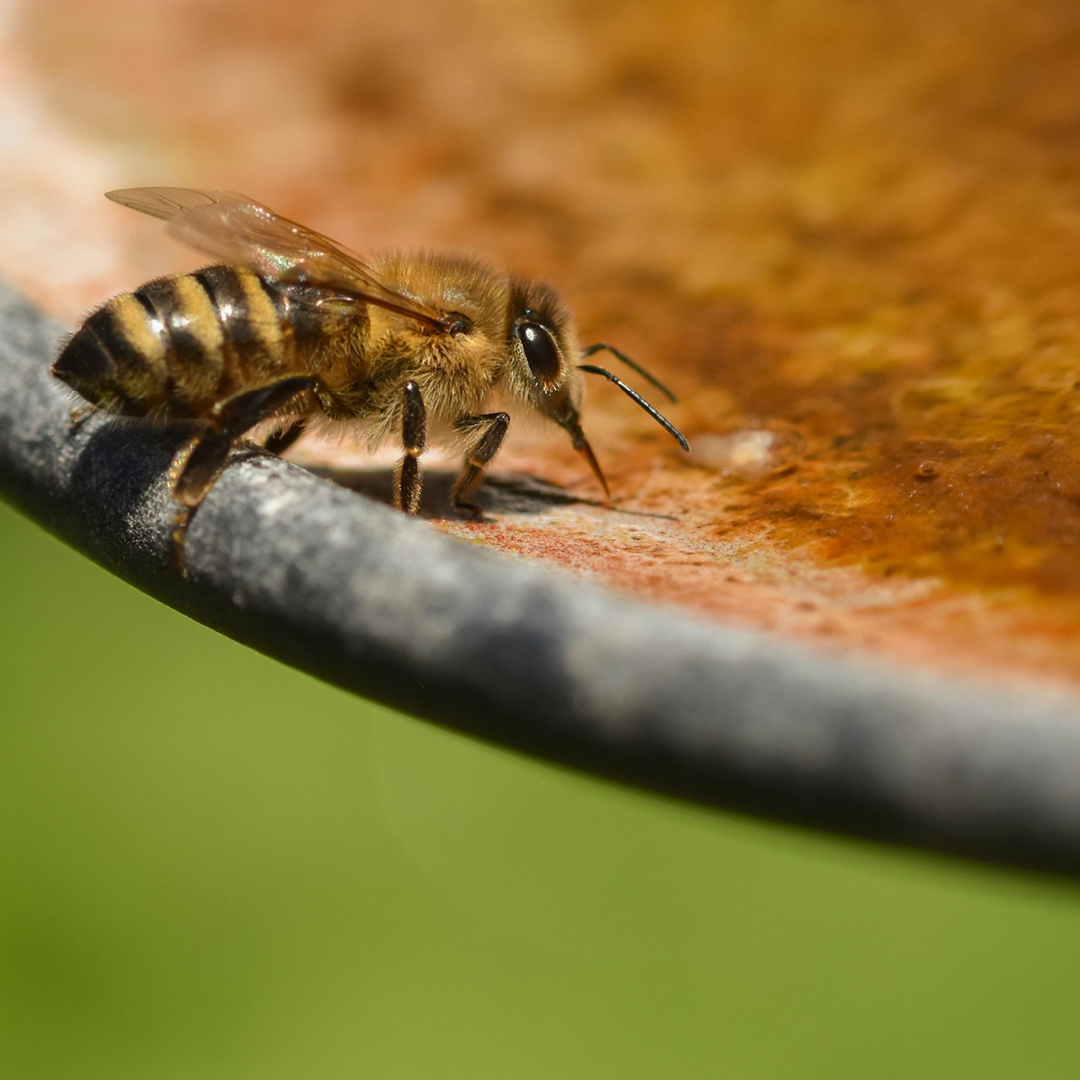
Bees work hard and need hydration to sustain energy, build nests, and regulate their body temperature. However, they are not great swimmers.

  • Shallow is best: Use a shallow dish or saucer filled with water.
  • Add landing pads: Place stones or marbles in the water so the bees have a safe place to land and drink without drowning.

Plan for the Long Haul

While spring is crucial, your garden needs to be a reliable food source until the first frost of autumn. Aim to have at least three different pollinator-friendly plants blooming in every season. This ensures that as one flower fades, another opens, providing a continuous buffet for your buzzing visitors.

Watch and Learn

This spring, turn your garden into a living classroom. Keep an eye out for the first sightings of bees and watch which plants they flock to. Observing these patterns will help you make better planting choices for next year.

If you are ready to start but aren’t sure which early bloomers are right for your specific soil or light conditions, come chat with us. The team at Hilltop Nursery is here to help you cultivate a space where nature can thrive.

Spring Bees, Native Pollinators

Spring Bees, Native Pollinators

Spring Bees, Native Pollinators

Blooming Plants: Brighten Your Home & Office

It is no secret that houseplants can beautify your home and office as well as freshen the air, promote relaxation and improve concentration. But if you’re tired of plain foliage and miss the colorful bursts of your annual and perennial flowerbeds, why not opt for flowering plants indoors as well? There are many beautiful bloomers that can brighten up your home and office throughout the year.

Orchids

Orchids are favorite flowers that add an exotic touch to any décor. The most popular varieties for indoor blooming include…

  • Phalenopsis (Moth Orchid) – This favorite selection can continue to spike up to 9 months during the year and is considered the easiest to bloom
  • Dendrobium – Many fragrant varieties in lots of colors, can rebloom 1-4 times per year
  • Cattleya – Large standard variety blooms once per year, miniature varieties can bloom 2-3 times per year, many fragrant varieties, colors and sizes of flowers
  • Oncidium (Dancing Lady Orchid) – Blooms once per year and lasts 6-8 weeks
  • Paphiopedilum (Lady Slipper Orchid) – Blooms once per year with blooms lasting 6-8 weeks, very exotic.

Cyclamen

This popular plant produces a profusion of colorful flowers that bloom for a long time, ideal for adding reliable color and life indoors. Keep cyclamen evenly moist from September through May. Let them dry from June to August, so the tuber can rest and recover from the intense effort of the prolonged bloom cycle. Ideal light is a sunny east or west window. Cyclamen prefer a cool room (60-70 degrees). Feed them from September to May, then stop for the summer months.

African Violets

These small, robust plants are by far the most popular houseplant and among the easiest flowering houseplant that blooms all year long. Choose from a wide selection of pink, purple, magenta, white and blue options in both double and single blooms. African violets prefer bright, diffused or artificial light. Feed regularly and water from the bottom so as not to get water on the leaves, which could promote diseases and fungus. Be sure to empty any excess water so the roots do not rot.

Kalanchoe

These blooming plants’ flowers last for many weeks. Kalanchoes grow 8-12 inches tall with masses of small four-petaled leaves that are red, orange, coral, gold, yellow and purple. They have thick, waxy leaves with a succulent appearance and can withstand periods of dry soil, making them a good option for beginners or in offices that may be closed for holidays or other periods when the plants may be somewhat neglected. Water when soil feels dry to the touch and drain excess water from tray. Maintain flower color with bright, indirect sunlight daily for at least four hours.

Bonsai

If you haven’t tried it, the art of training a dwarf potted tree is a fascinating hobby. Because the soil around the bonsai plant is limited, these plants need watering almost every day, and sometimes twice a day during the hot summer. We carry a wide selection of starter plants and mature specimens from evergreen selections to tropical varieties. Some will bloom with true flowers, while others – though they don’t produce flowers – have such delicate and pleasing structures that their appearance is every bit as lovely as the most gorgeous bloom.

Not sure which blooming plant will be best for your home or office? Stop in and we’ll be happy to help you choose just the right plant to brighten your space!

blooming-ho-2

blooming-ho-3

blooming-ho

Dormant Pruning With the Proper Tools

Late winter pruning is often recommended for many trees and shrubs. Pruning the plants while they are dormant is less stressful for the plant and it’s also easier to view the structure of deciduous trees and shrubs without leaves to ensure the pruning helps create the desired shape. It’s also a time of the year when late winter sunshine makes us all long to be in our gardens and pruning is an excellent job to get us out there.

Pruning Tools

To get out and get pruning, you will need the proper tools. There are several types of pruners that should be in every serious gardener’s tool shed.

  • Hand Pruners
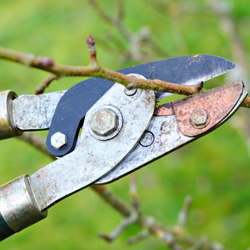
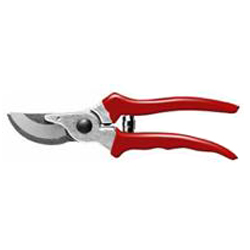
    The simplest tool, but the hardest to choose, is the hand pruner. There are two distinct styles of hand pruners: the anvil type and the bypass. The anvil pruner is good for pruning deadwood or undesirable growth. For more valuable specimens anvil pruners tend to smash the wood during cutting, leaving the wound open to insects and disease. Bypass pruners are like a pair of scissors and give you an easier, cleaner healthier cut. Different hand pruners are available in different sizes and grip styles, including options for both right-handed and left-handed gardeners. To get the best results, it is important to choose a hand pruner that feels comfortable but still provides adequate strength for the job.
  • Lopping Shears
    Another tool that comes in handy is the lopping shear. They are used for making larger cuts up to 1-1/2″ in diameter, and have longer handles to provide more power without stress or strain. The longer handles also provide a better reach than hand pruners. They are also excellent for clearing away undesirable growth in your yard, including trimming hedges.
  • Pole Pruners
    The last tool you’ll need is a pole pruner. It is a combination lopping shear and pruning saw. The pole pruner extends out to twelve feet and can be used for making small cosmetic cuts or larger limb removals without needing to set up a ladder. Pole pruners are also useful in dense canopies when using a ladder would not be practical or suitable.

To learn more about pruning specific trees or shrubs and to choose the appropriate tools for the job, please stop in or give us a call. We’ll be happy to help you be sure you are equipped to make clean, appropriate cuts that will help your trees and shrubs look their very best.

dormant-2
dormant-1

Caring for Forced Bulbs

Potted tulips, crocus, hyacinths and daffodils add color to dull, dreary winter months. With proper care, these spring treasures can give you weeks of enjoyment long before their outdoor cousins poke through the soil, bringing a burst of color and life to your home even when winter is in full force. Stop by our greenhouse today and pick up some forced bulbs to brighten your home!

To Care for Forced Bulbs

While outdoor bulbs require are remarkably low-maintenance and will return year after year looking better than ever, forced bulbs take some extra care to keep looking their best while they’re in bloom. To make the most of your forced bulbs… 

  • Soil should be kept moist, but not wet. Do not allow the plants to stand in excess water, as this can cause rot that will destroy the plant. Be sure soil has proper drainage to keep excess water away from the roots.
  • Place the plants in indirect light and keep them as cool as possible. The cooler the temperature, the longer the bloom period will be. Ideal temperatures are 55-60 degrees during the day and 40-50 degrees at night. The pot may be kept in the refrigerator at night if necessary, or move it to an unheated garage or basement to chill out overnight. Placing pots near a window and away from heating vents can help keep them cooler.
  • When the flowers fade, cut off the flower stems near the soil level. Take care not to cut into the bulb, however, as the damage could impact any future blooming. Do not cut away foliage – it will continue to add nutrition to the bulb’s storage. Instead, allow the foliage to remain intact until it withers naturally, whether it is still in a pot or has been planted outdoors before wilting.
  • Bulbs cannot typically be forced indoors a second time. Instead, transplant the bulbs into the garden in the spring with a handful of bone meal in the hole and in a suitable location and soil type for the flower. Allow the foliage at least 6-8 weeks in the ground to gather energy for next spring.

Many forced bulbs will not rebloom immediately when planted outdoors, but with patience and good care, they may recover from being forced and could become an integral part of your spring landscape just as they were part of your indoor landscape in winter.

caring-forced

Bay: An Herb Worth Enjoying

A staple in most kitchens, bay (Laurus nobilis) is a familiar herb popular for flavoring soups, stews, stuffing and marinades. But how much do you know about this savory seasoning?

History of Bay

Originally from Asia Minor including Turkey and Armenia, this fragrant plant is a broadleaf evergreen also known as sweet bay, bay tree or bay laurel. Because of its popularity and multiple uses, it quickly spread around the Mediterranean and beyond. Bay, along with true laurel, was worn in Greece and Rome as wreaths on the head for protection, as well as an honor for being victorious in sports and battle. Accomplished scholars, diplomats and statesmen could also be crowned with bay wreaths. 

Unique Uses for Bay

Bay leaves have long been used in flour and grain to keep pantry moths away. Medicinally, it has been used for treating high blood sugar, migraines and bacterial and fungal infections. The oil has been used in bruise and sprain liniments and salves. These evergreen plants can be attractive in the landscape, and have been used as topiaries, hedges and even houseplants.

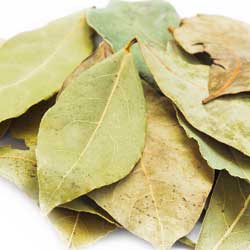
The leaves of bay have the flavoring properties, and may be used fresh, though dried by is most familiar and common. Fresh leaves are less flavorful and milder, but after drying the flavor strengthens. Whole leaves are most commonly used to flavor recipes, but should be removed before serving because the sharp edges of the dried leaves can cause internal cuts if ingested.

Growing Bay

Bay is easy to grow in pots on the patio or indoors. Give the plant full sun for at least half the day, or keep it indoors in a sunny window. Pick the leaves as needed. Keep the plant pruned to size as it wants to become a tree. To dry bay for future use or to strengthen its flavor, leaves can be dried in a thin layer in the oven or sprigs may be hung upside down in a cool, dark, dry area such as a closet for several weeks until they are completely dry. Dried leaves can retain their flavor for a year or longer if properly stored.

Try a New Bay Recipe

Bay is popular to flavor stews, soups, roasts, stuffing, marinades and other savory dishes, and can even be used in teas. But what about a sweet dessert using this versatile leaf? Enjoy a new dish with bay and discover even more about its unique flavor and usefulness today!

Bay & Warm Bananas with Vanilla Ice Cream (from the Food Network)

  • 4 tablespoons butter
  • 2 bay leaves
  • 2 tablespoons freshly squeezed lemon juice
  • 1 cup fresh or frozen orange juice
  • 1 cup packed light brown sugar
  • 2 tablespoons bourbon
  • Pinch salt
  • 6 not quite ripe bananas, peeled and into bite sized pieces
  • 1/4 teaspoon freshly ground black pepper

In small skillet over medium heat, melt the butter and cook until browned, 3-4 minutes. Add the bay leaves and turn in the liquid, then add the lemon & orange juices, brown sugar, bourbon and salt. Simmer the liquid until it has reduced by half and has reached a syrupy consistency, about 5 minutes. Remove the pan from the heat. Add the bananas and black pepper. Stir to coat the bananas evenly. Serve still hot over ice cream.

bay-herb-1